Canning Chicken

Our friends at Fishnet Ministry ran into a huge problem recently. They received two shipments of chicken days apart from each other adding up to a total of 63,000 pounds of frozen meat. The problem for Fishnet was that they didn't have the freezer space for all the food. Every walk-in frig was converted into temporary freezers and calls sent out to churches and organizations begging them to come as quickly as possible to take the food off their hands so it wouldn't be wasted. Our family was given so much frozen chicken breasts after working our volunteer shift last week that I had no extra room inside my home freezer for anything else. What a perfectly wonderful problem to have! Haha! So this week I went into "can-everything-inside-the-freezer" mode in order to make room.
Although the thought of canning raw chicken might seem daunting to most people, it really is quite easy. Honestly, I think it's easier to can chicken than it is garden green beans. The benefits to being able to can your own chicken are numerous. My favorite are the quick meal preps when needing diced chicken for a casserole or whipping together a cold chicken salad for lunch. Just pop open a jar and you are ready to go! It's the convenience of store-bought canned chicken but way less expensive. Stock up on chicken breasts when they go on sale (or when given a trunk full!) and save money and freezer space by canning it all.
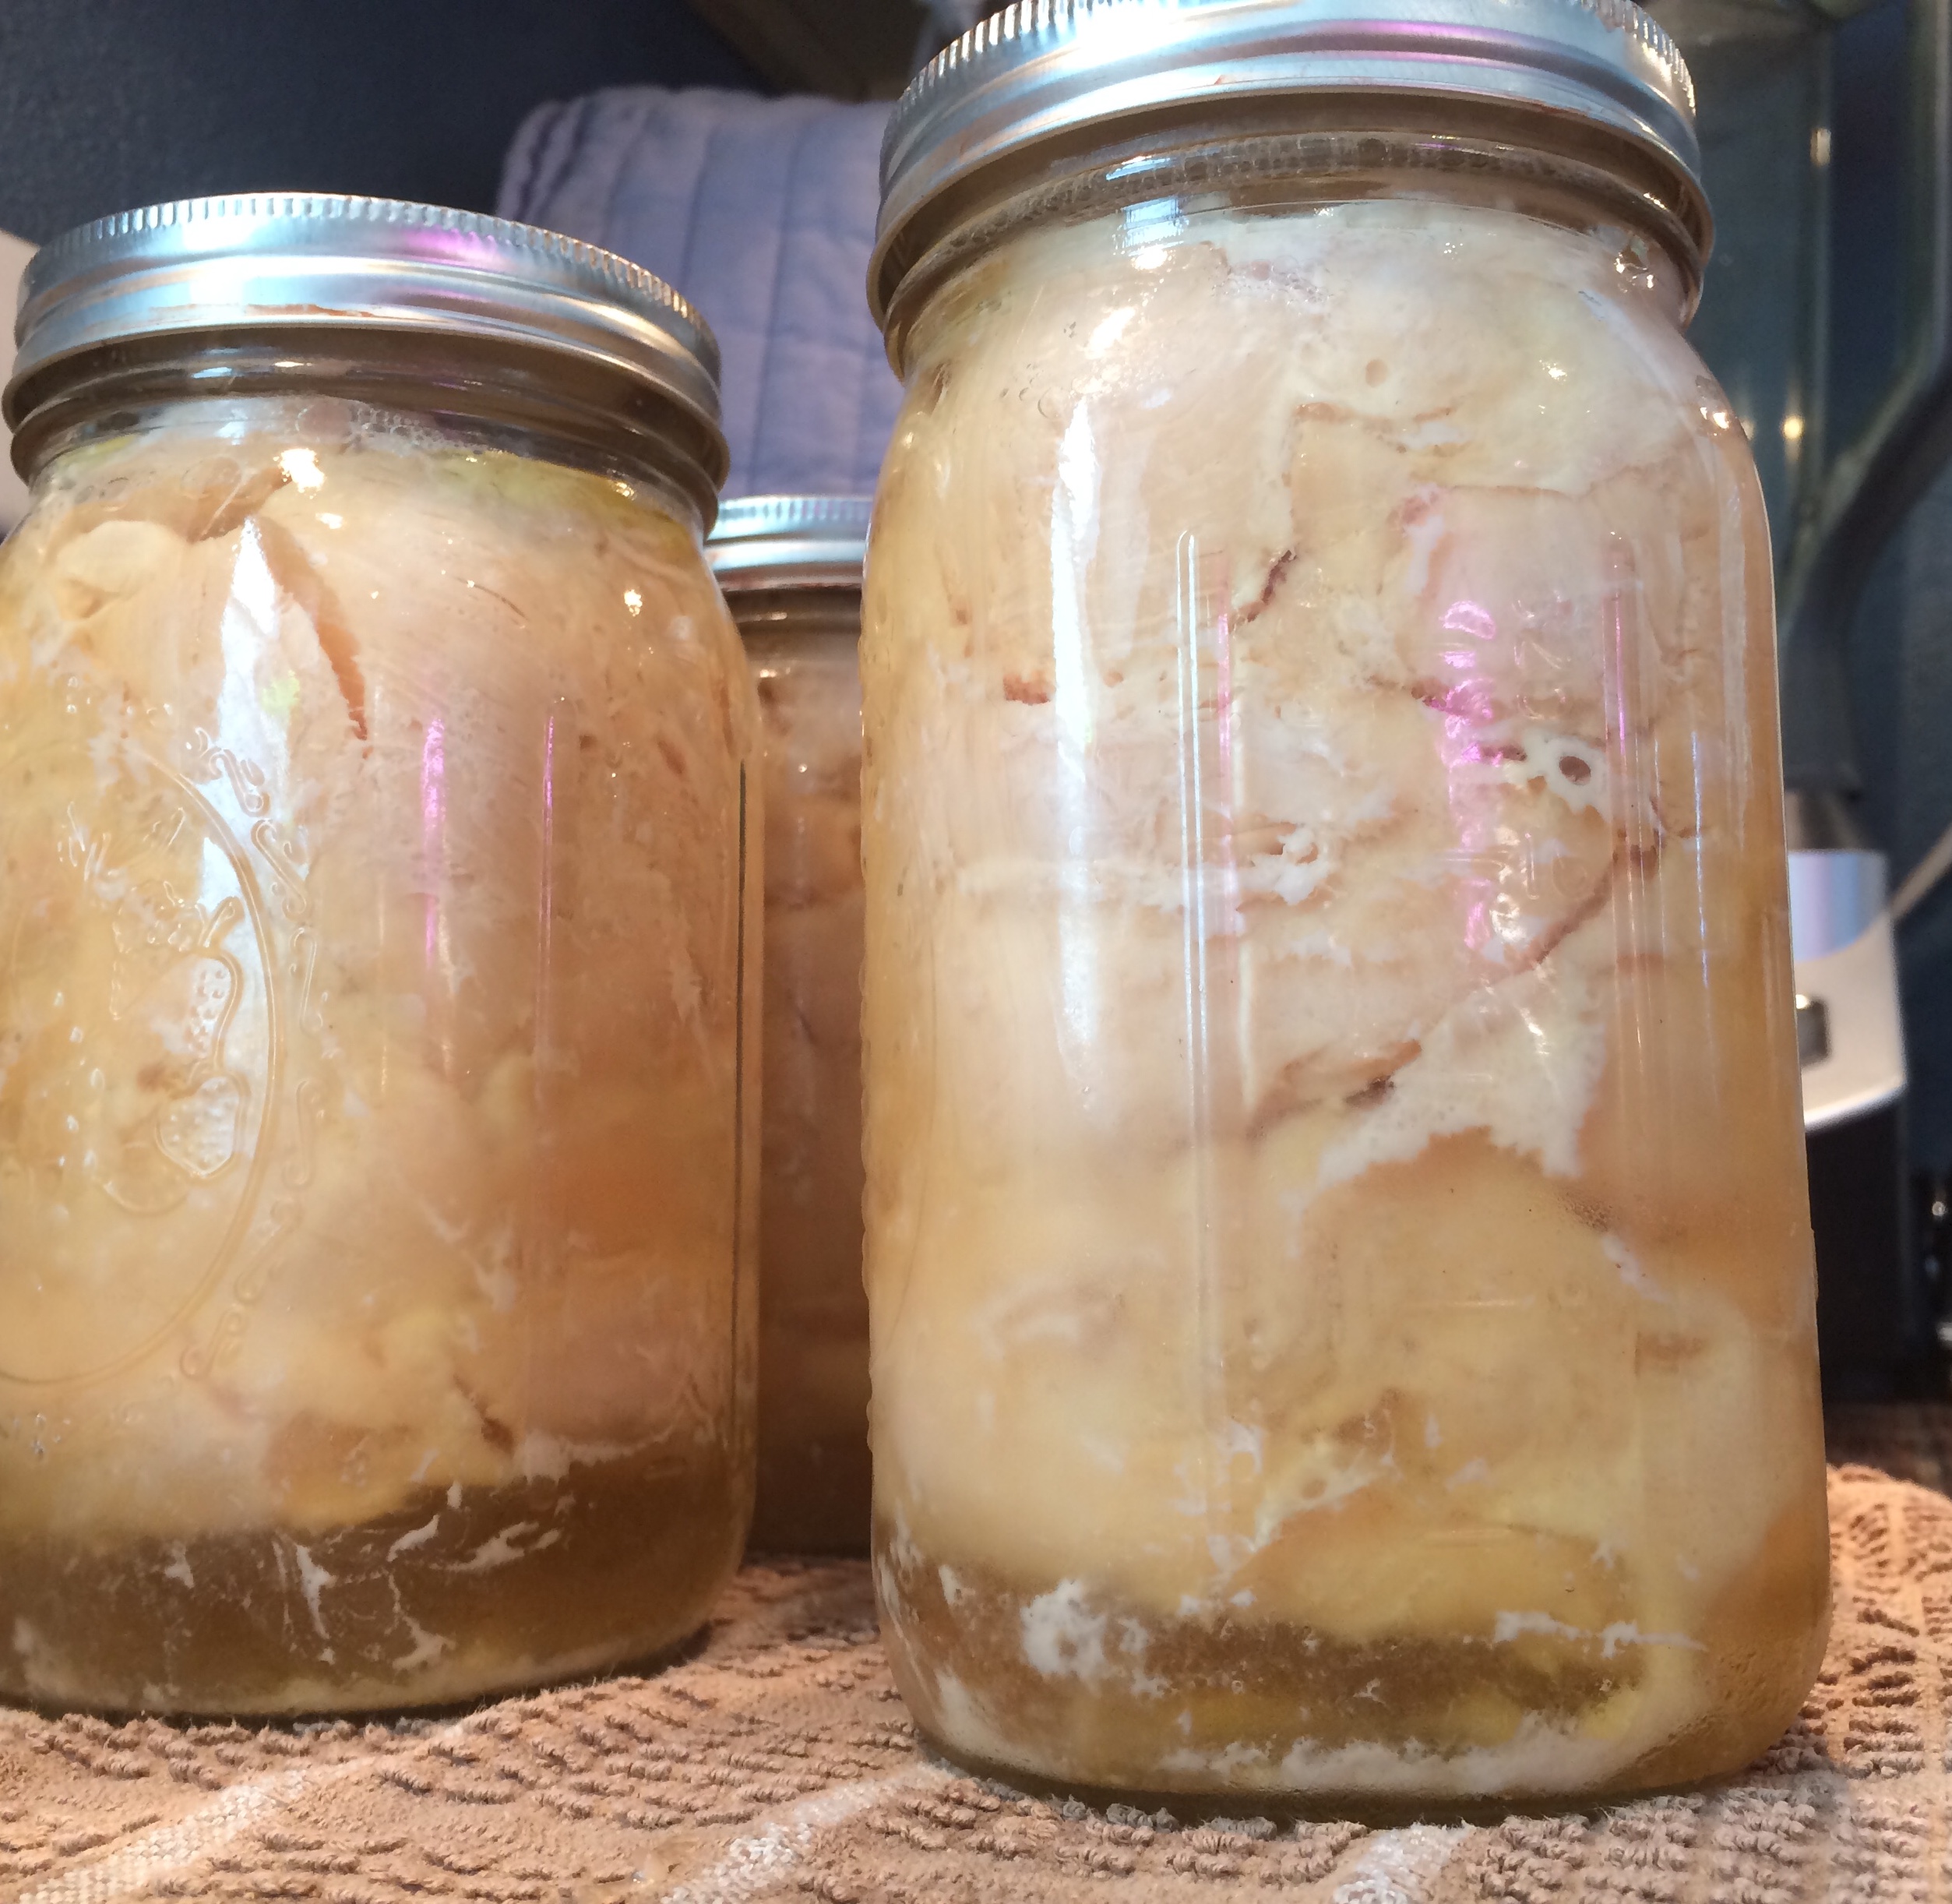
The "juice" in the jars is 100% chicken broth since no liquid is added before processing in the pressure canner. You can either use the juice in the meal prep with the canned chicken, or set aside and store inside the refrigerator for 3-4 days.
What You Will Need
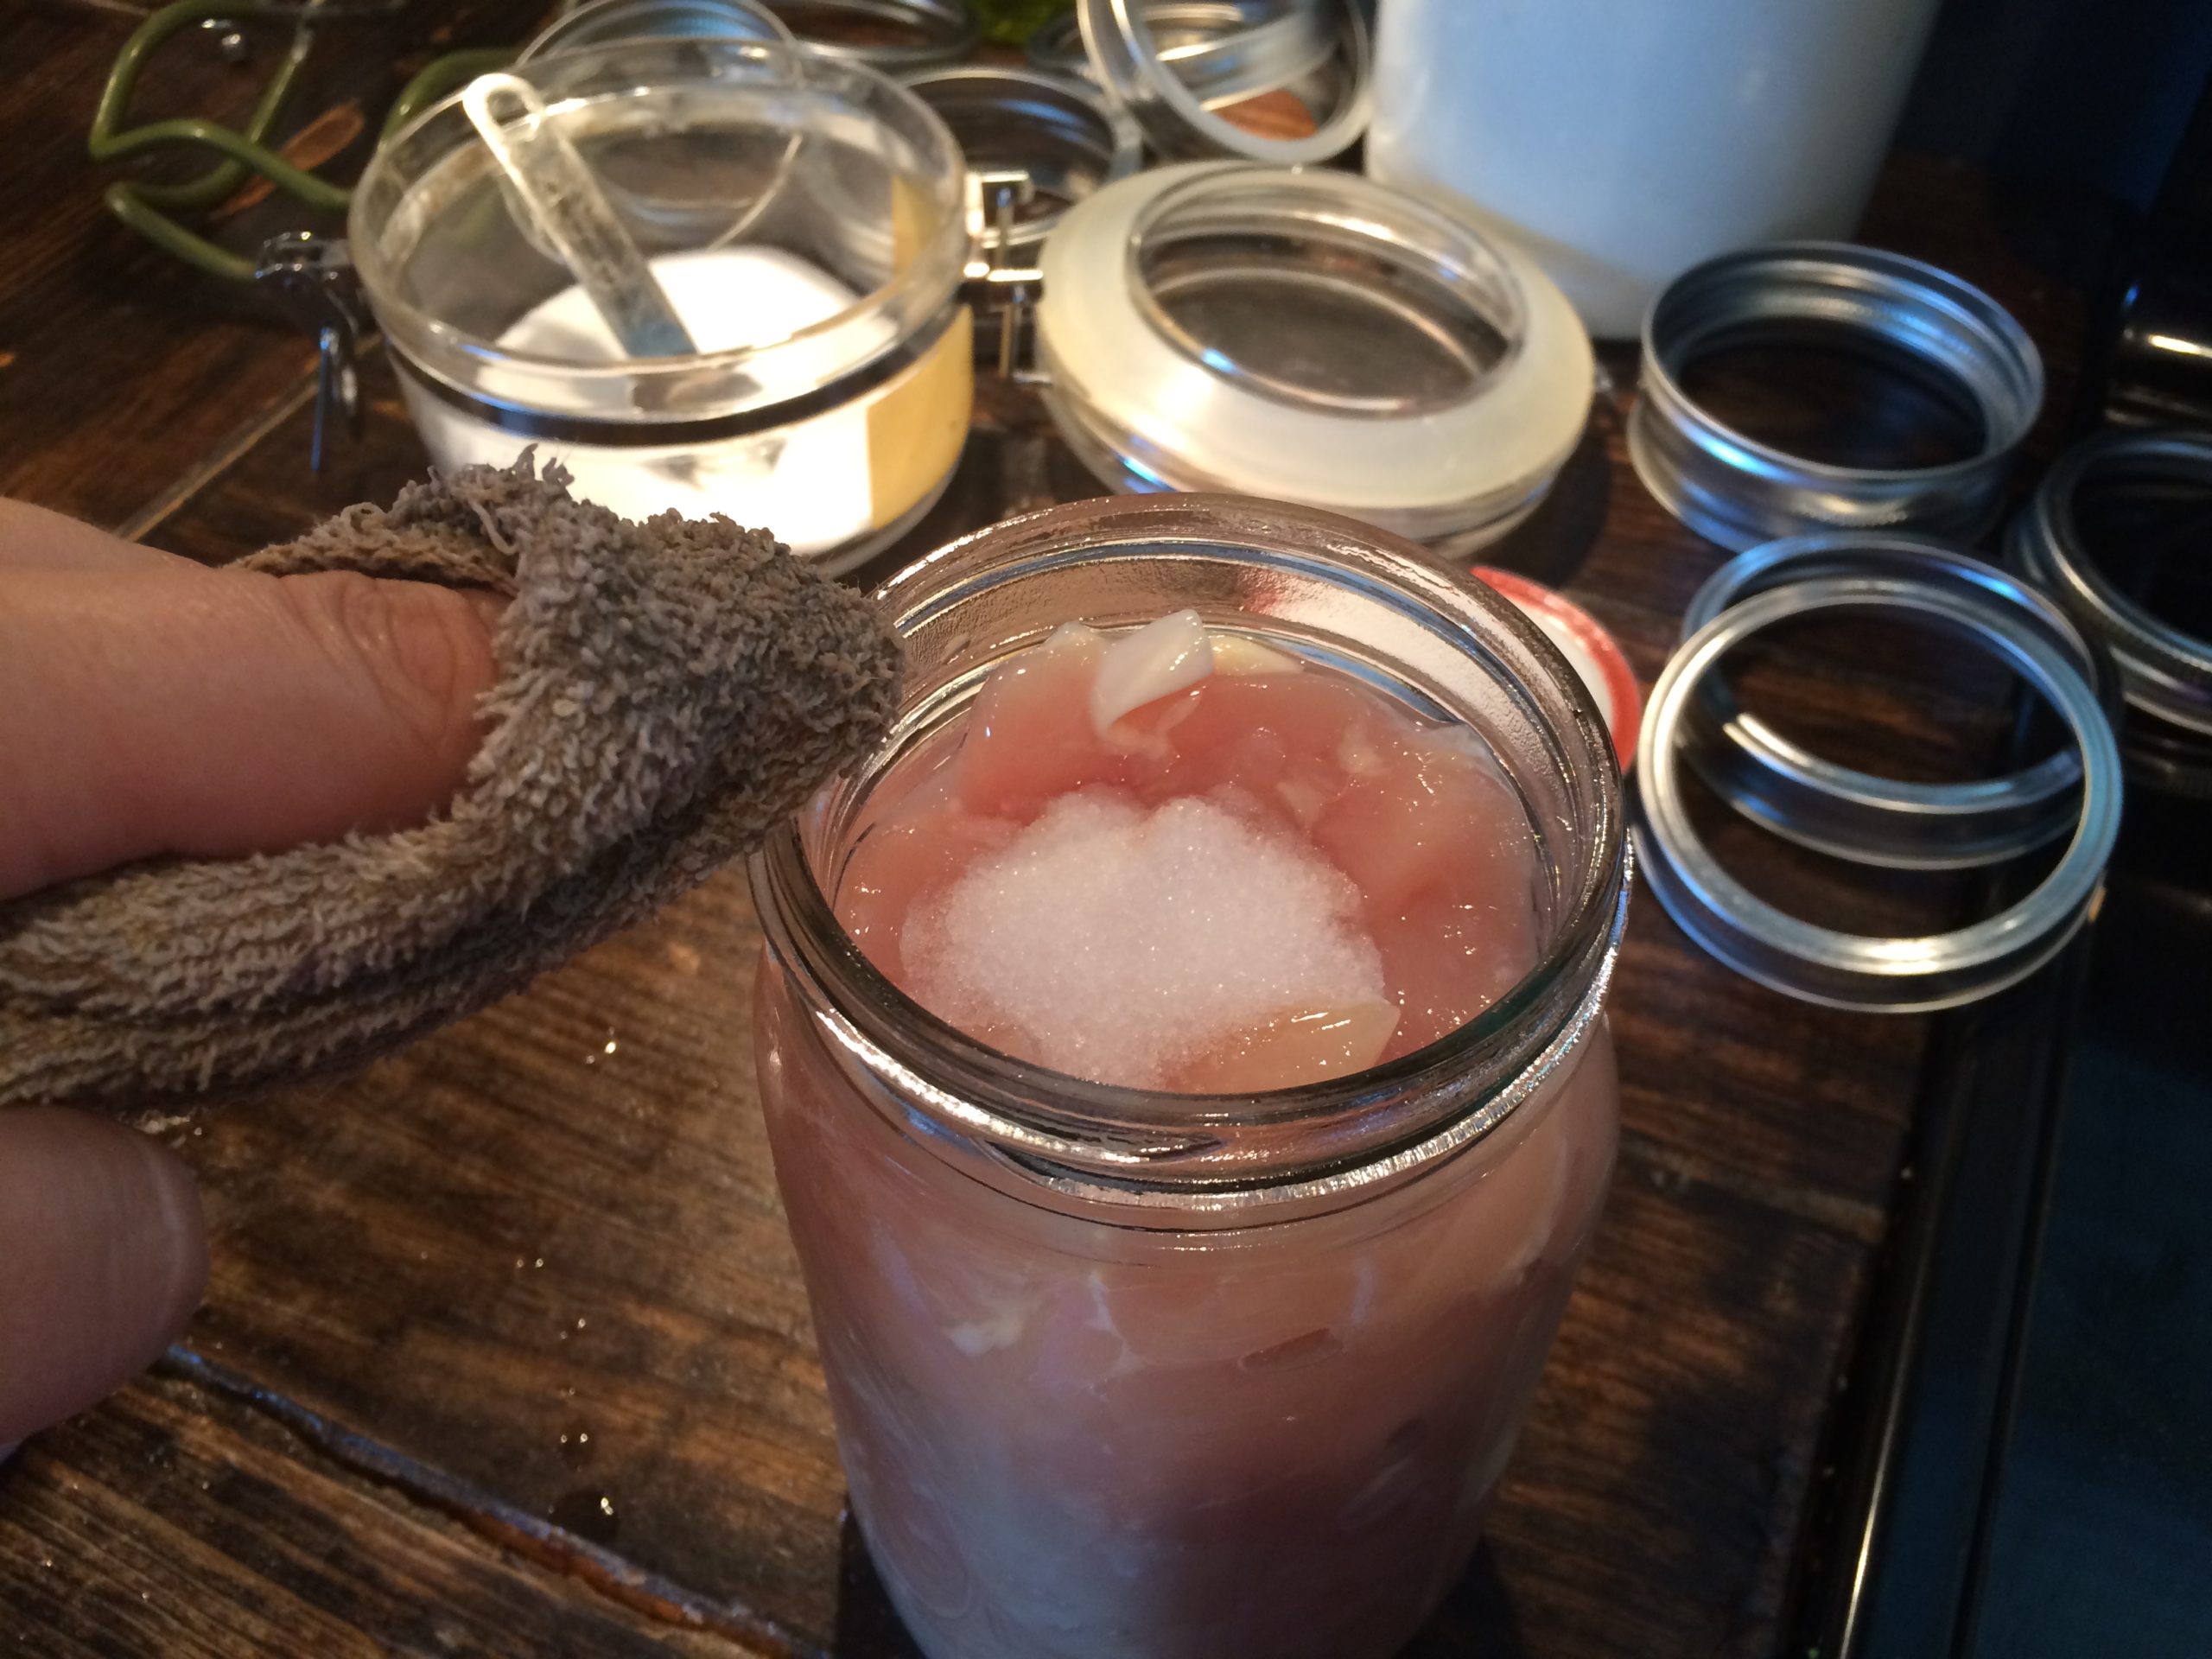
- Thawed chicken (cut into chunks)
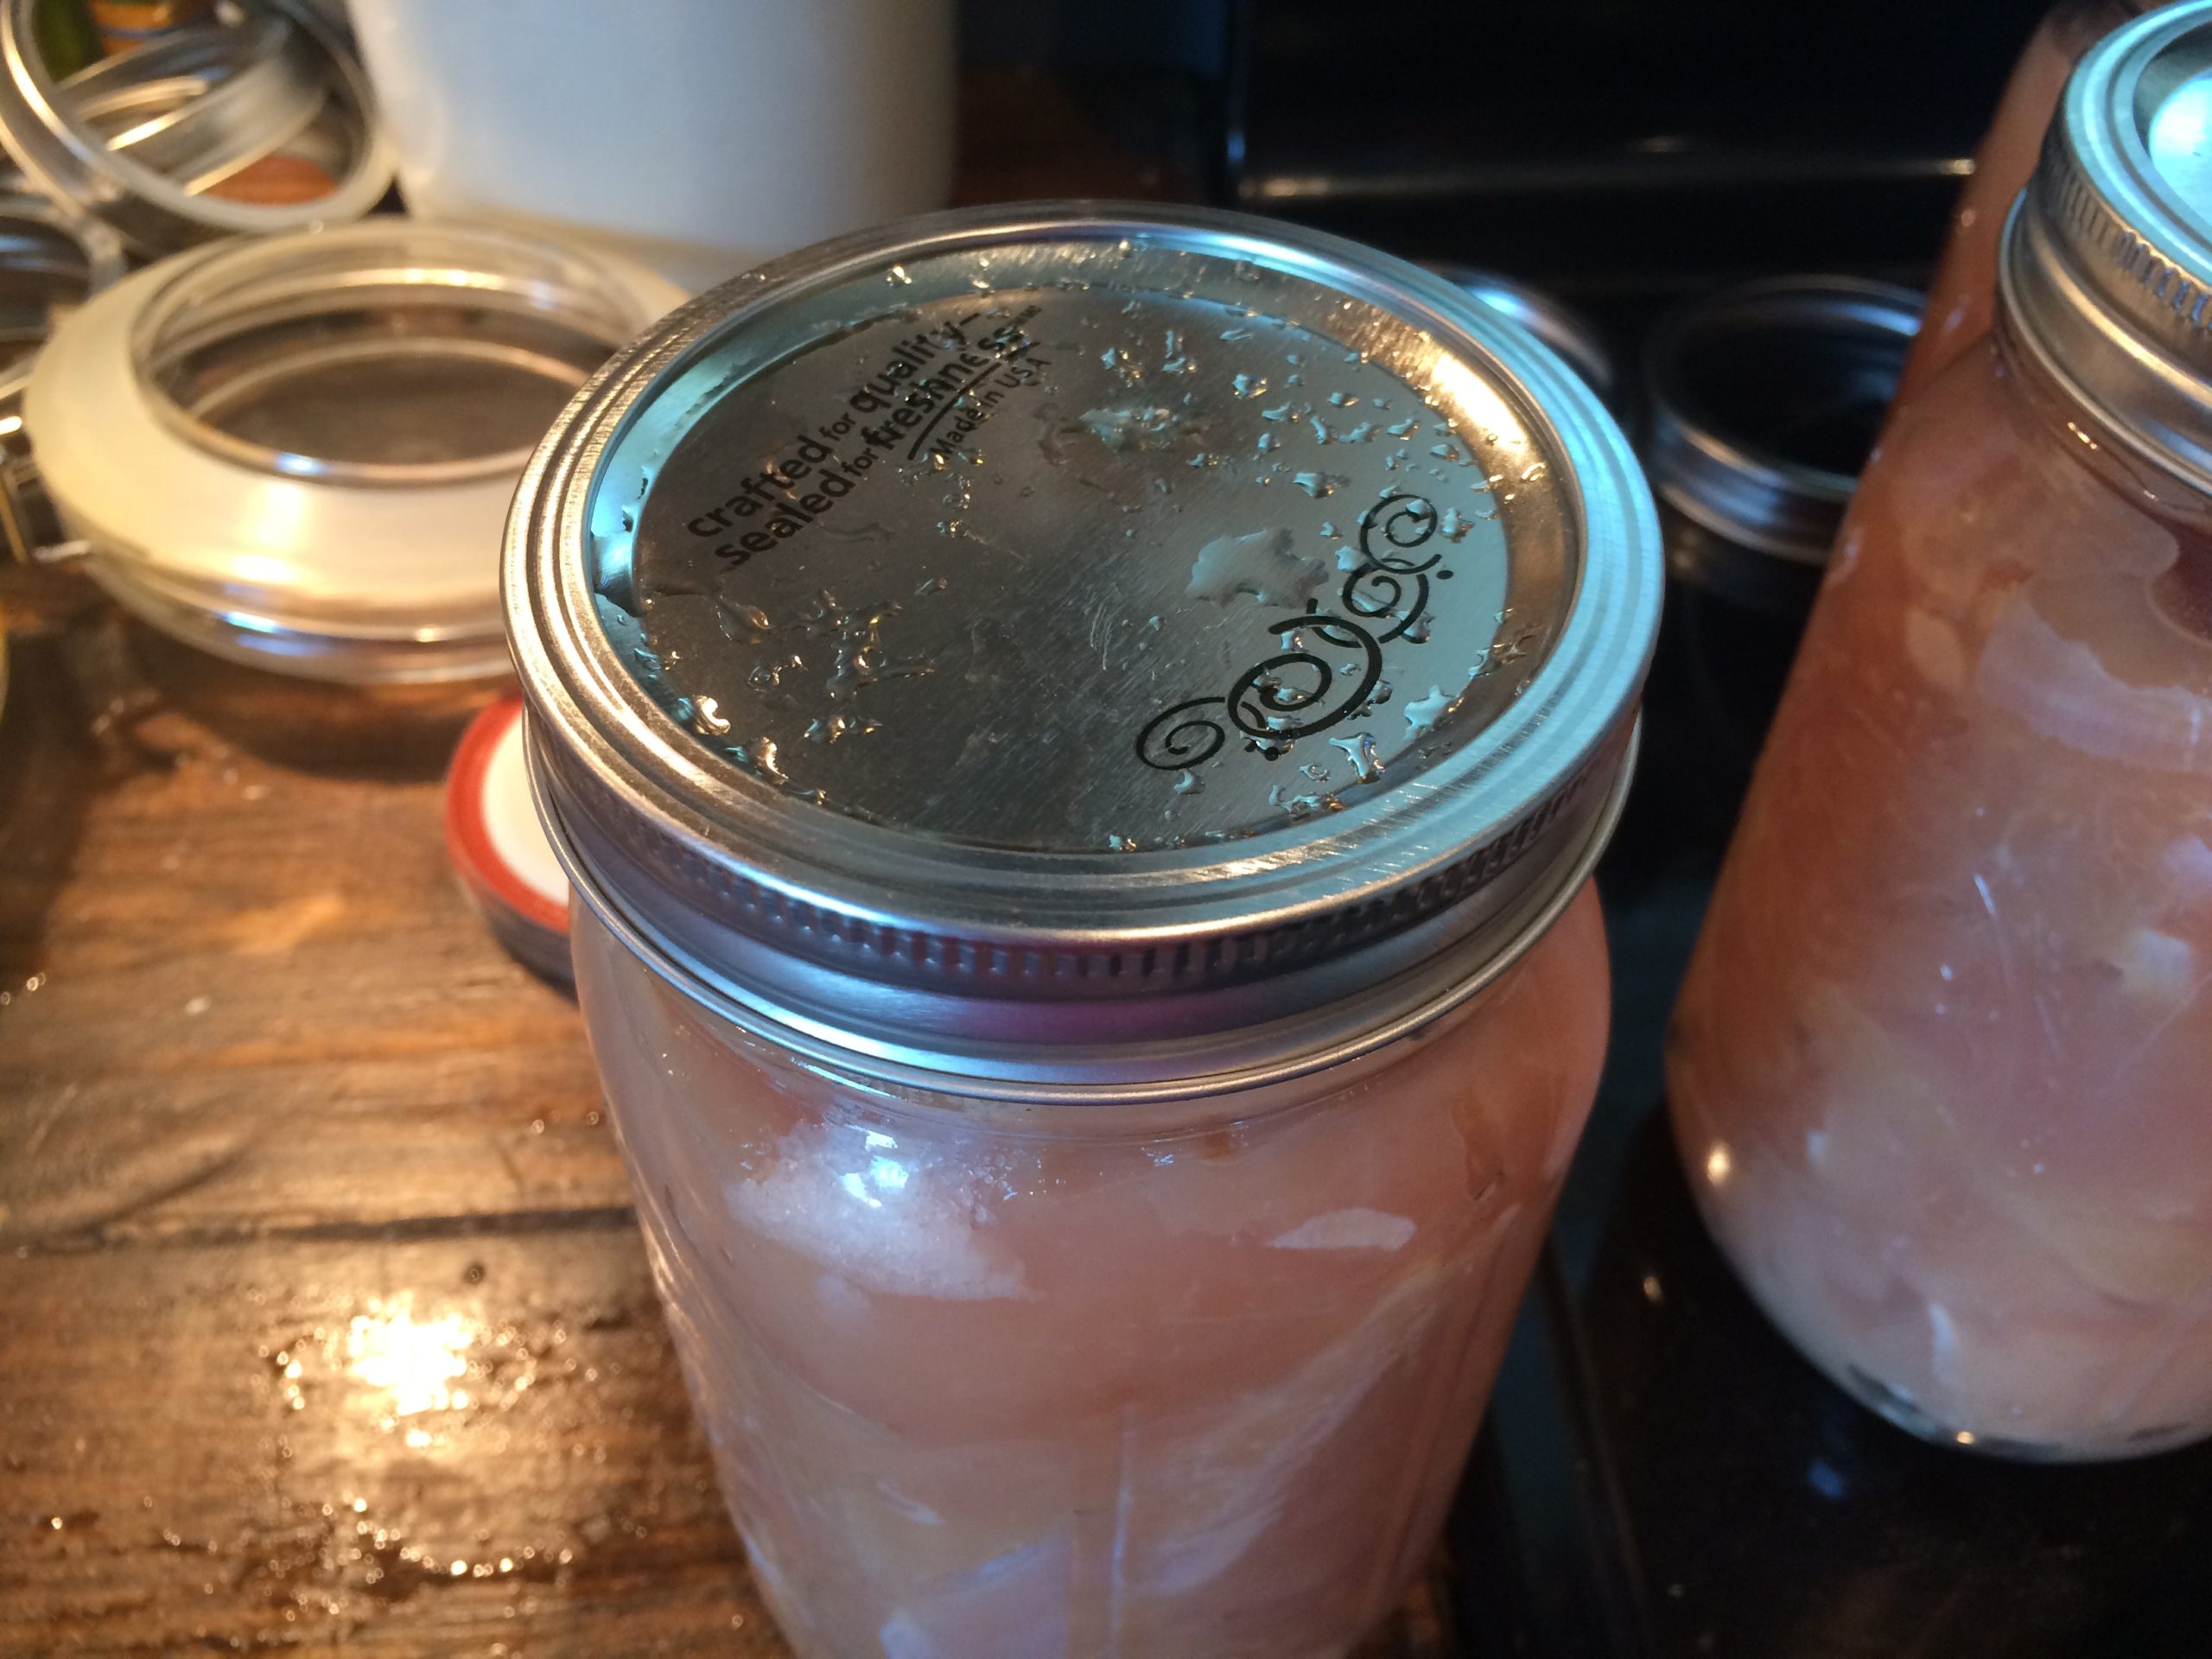
- Wide-mouth pint or quart jars
- Lids and bands
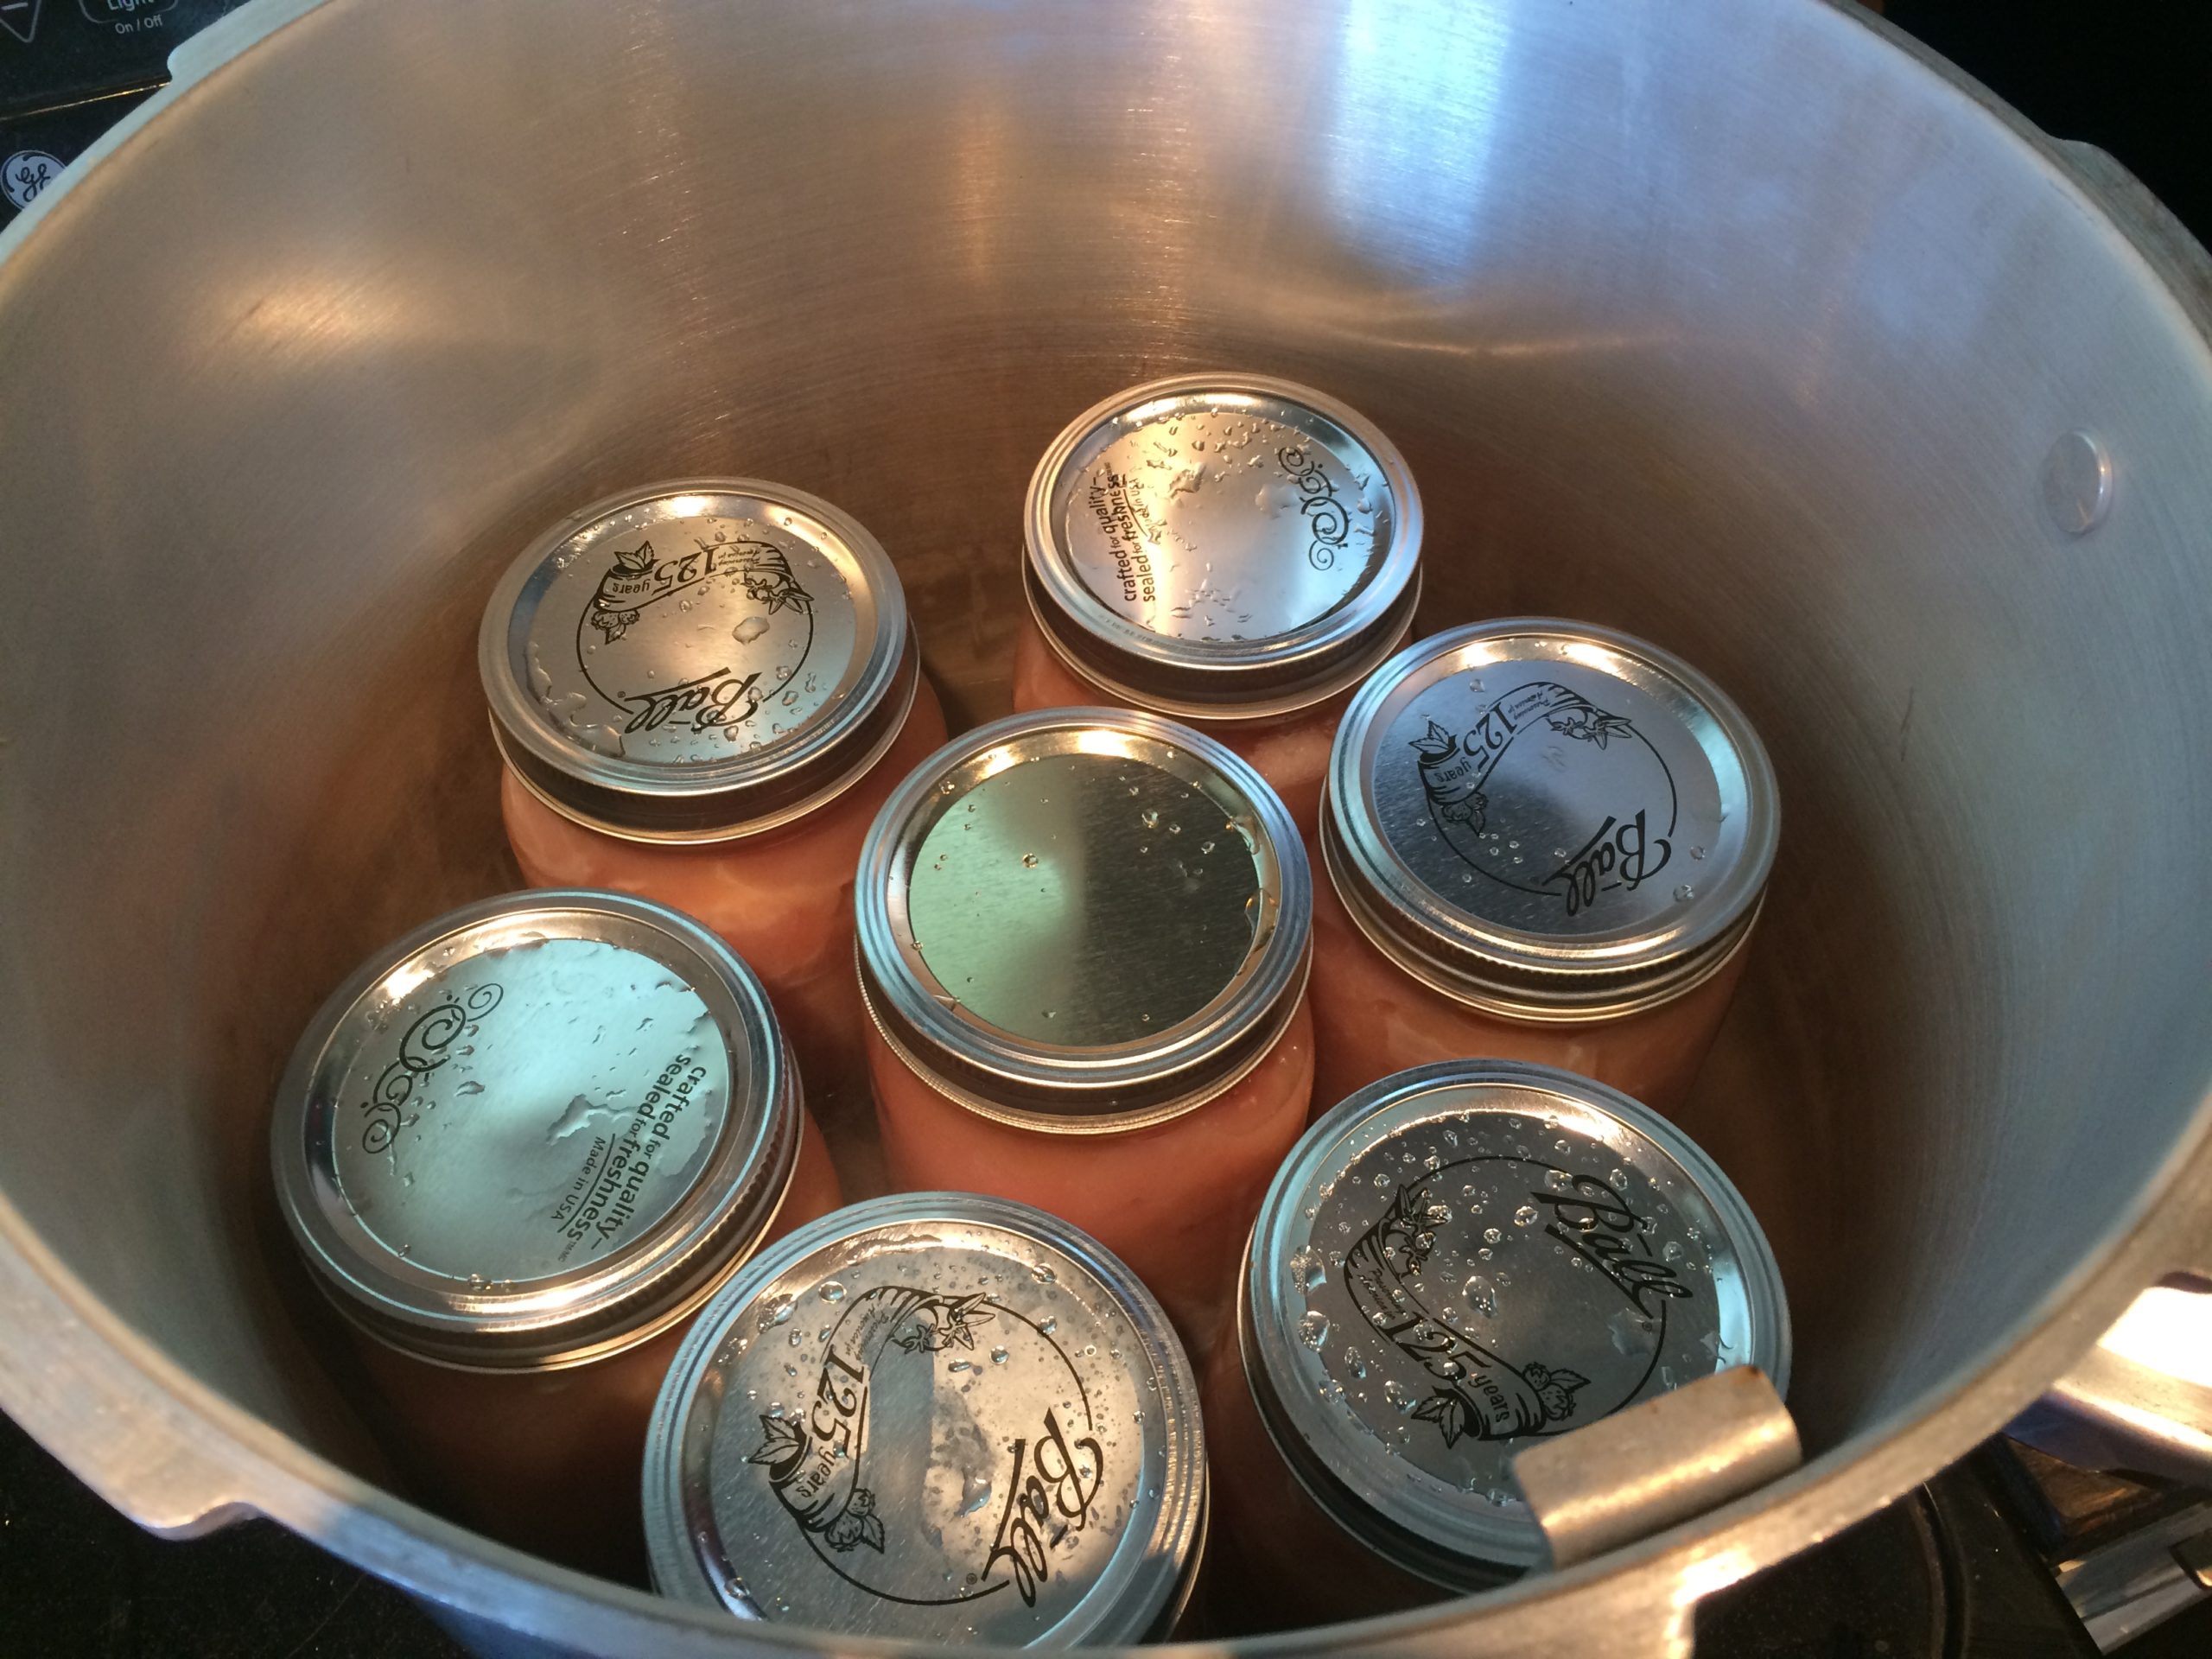
- Pressure canner
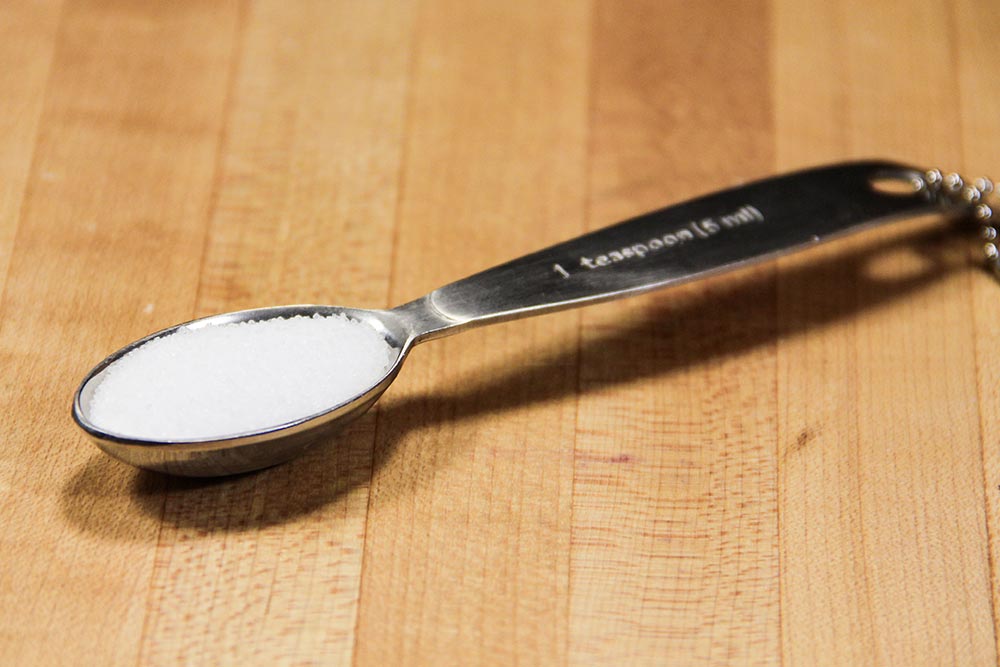
- Salt
- Vinegar
- Funnel and jar tongs