Canning Homemade Tomato Soup
Got a call yesterday afternoon from my sister asking if I needed any more tomatoes for my canning. Turns out the Fishnet Ministries located in Jacksonville had received a shipment of 80,000 pounds of Roma tomatoes and had no way of refrigerating them. A call went out to churches and the general public asking for help boxing up the tomatoes and getting them to those who could use them. Wow! FREE tomatoes (as many as you want)! After ending the call with my sister I immediately started calling around members of my church who I thought would be interested in doing some canning.
E likes to go around quoting, "You don't work; you don't eat!" a lot of times, and today just proved the statement to be a solid truth. In order to benefit from the free tomatoes, we had to go help box them from 5-7 a.m. Up at 3:45 a.m. I headed out the door shortly after 4 to be at the Fishnet Ministries' warehouse. My sister and two older nephews met me there and we all dove right in to help empty as many crates as possible. It felt like I had gone back in time and was up to work the 4 a.m. to 1 p.m. shift at McDonald's like I did during my high school years and summer/winter breaks of college. Oh the memories.... Haha!

The pallets were stacked three high and filled almost every available aisle inside the warehouse. On the outside, they were stacked four high and lined the outside walls.

We're talking a LOT of tomatoes!!! In the short amount of time we were able to help, our small group was able to unload 4 1/2 crates which were the size of small swimming pools.
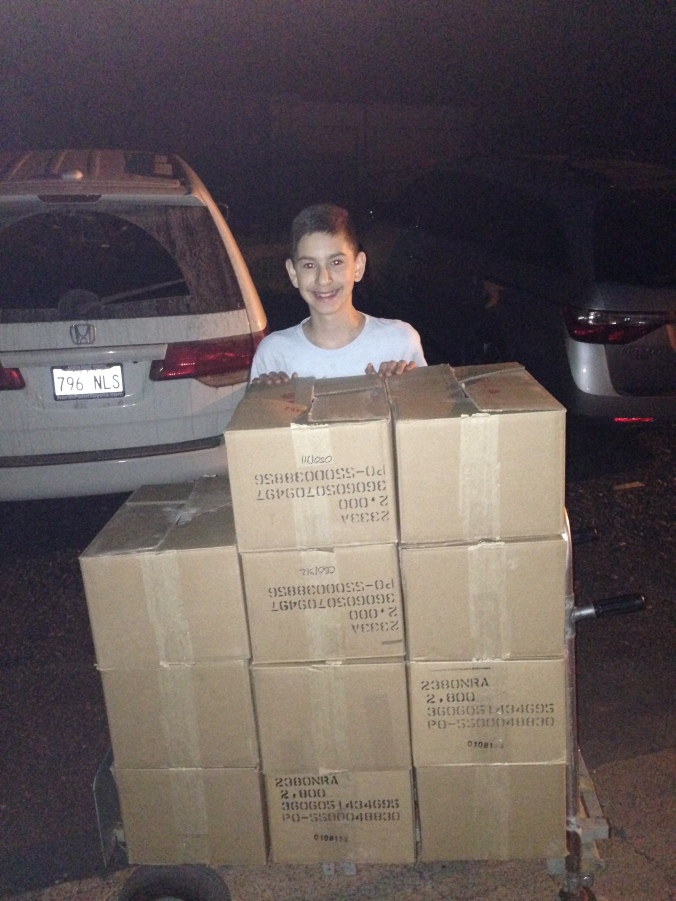
Here is just a portion of the boxes of tomatoes we loaded up in our vehicles to take home to either can ourselves or give to friends from church. Can't beat free food!!!
The timing of this blessing couldn't have been better since my mom is here visiting for a few days and was able to walk me through my first batch of tomato soup. Yippee! :-) Not that I couldn't do it on my own with her written instructions, but it sure is nice for this auditory and visual learner to be able to do it along side her so I don't make any mistakes.
What you will need to can a single batch of homemade tomato soup:
SUPPLIES
- 3 stock pots (or 2 stock pots and several large soup pots)
- Canner
- Quart jars (approx. 14-15)
- Canning lids
- Canning rings/bands
- Funnel
- Ladel
- Long spoon for stirring
- Knife
- Juicer (used my KitchenAid with juicer attachment)
- Long whisk
INGREDIENTS
- 26 pounds tomatoes (1/2 a bushel)
- Whole bunch of celery
- 14 T. onion powder
- 6 Bay Leaves
- 3/4 C. sugar
- 1/4 C. salt
- 1 1/2 tsp. pepper (more if you like your soup spicy)
- 2 sticks butter
- 1 C. flour
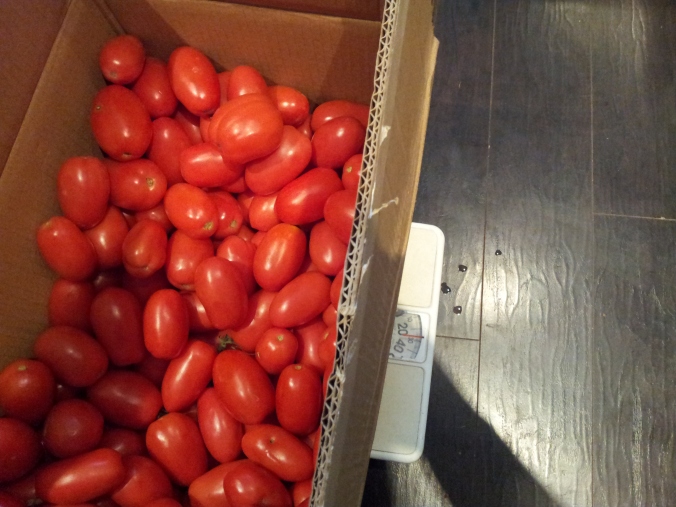
Start by weighing your tomatoes to ensure you have the needed 1/2 bushel. FYI, I looked it up online to find that a full bushel of tomatoes weighs 53 pounds. Just thought you would want to know that little tidbit of info. :-) You'll notice I'm not using a fancy kitchen scale - primarily because I don't own one. Instead a handy bathroom scale will suffice.
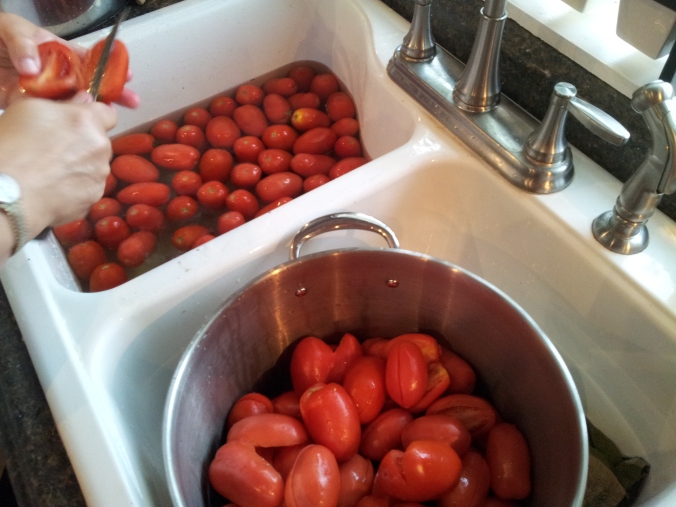
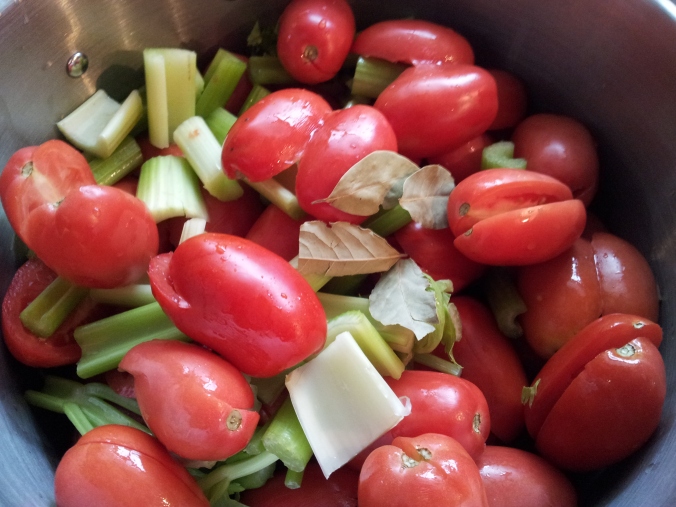
After you've weighed your tomatoes, place inside a clean sink and fill with water to give them a good wash. Using a sharp knife, cut each one in half to ensure there are no bad spots then throw them into the stock pots (dividing the tomatoes between the two pots).
Wash your celery then divide into two sections. Cut off the bottoms and the ends if they are bad. Cut the celery into pieces no longer than the length from the tip of your index finger to the knuckle. You don't want them too big because they will get stuck inside your juicer. Leaves and all get thrown into the pots.

Add three Bay Leaves to each pot (more if the leaves are small and broken).
Add 7 T. onion powder to each pot then cover and place on medium-high heat to cook. As the tomatoes begin to cook down, you can begin mashing them to release the juices then turn up the heat. Don't increase the heat until you have enough juice otherwise the tomatoes will burn!
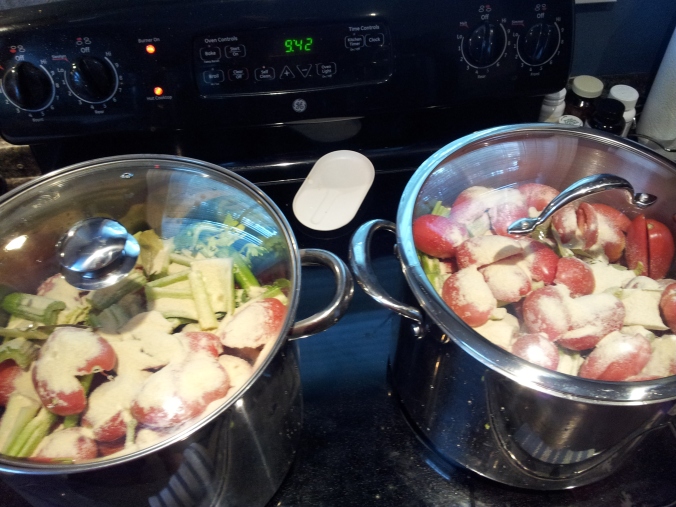
Check your pots and stir the contents every 15-20 minutes or so to ensure that nothing starts to burn at the bottom. This part of the recipe takes F-O-R-E-V-E-R!!! :-) You'll know it's been cooked through when the celery is tender. To help it cook faster, push all the pieces of celery under the liquid.

After the tomatoes have cooked down, scoop out a cup at a time and press down into your juicer. It helps to use the mixer bowl to catch the soup in because the handle makes it easier to pour into the larger pot. Don't forget you are working with hot, hot stuff!
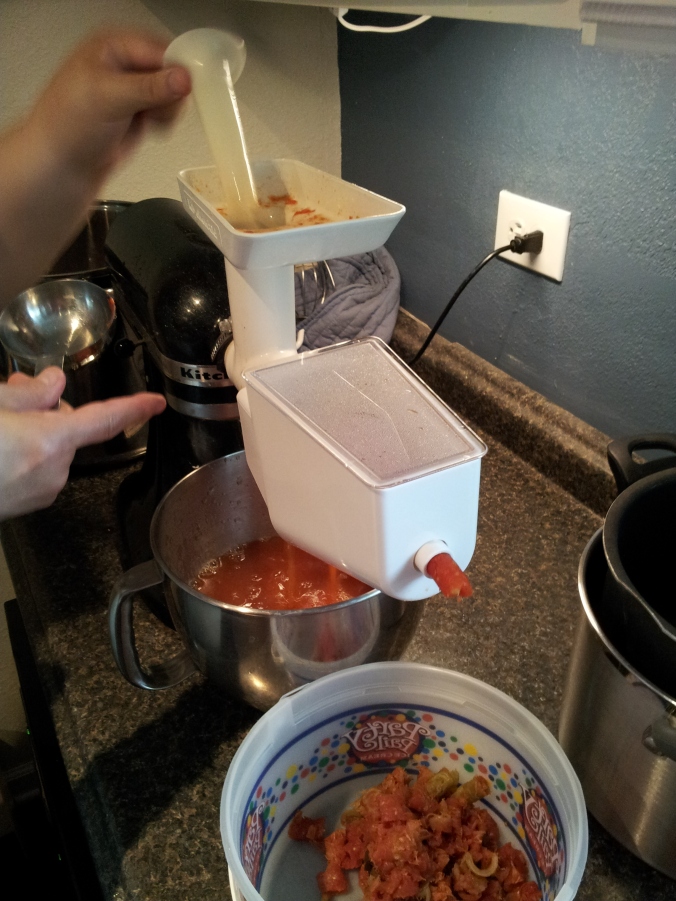
Pour the juice into the third stockpot or smaller pots/containers until all the tomatoes have gone through the juicer. If you don't have a third stockpot, wash out one that you finish emptying and pour the soup into it. All the juice will fill one stockpot when you are done.

As soon as you finish juicing all the mixture, get your water canner on the stove to start heating. Remember to have something on the bottom of the canner to prevent the jars from coming into direct contact with the metal. I used the inside piece from my pressure canner, but you can use some butter knives, canning lids or canning rings. Just anything that will elevate your jars.

Whisk in
- 1/4 C. salt
- 3/4 C. sugar
- 1 1/2 tsp. pepper
and bring to a boil

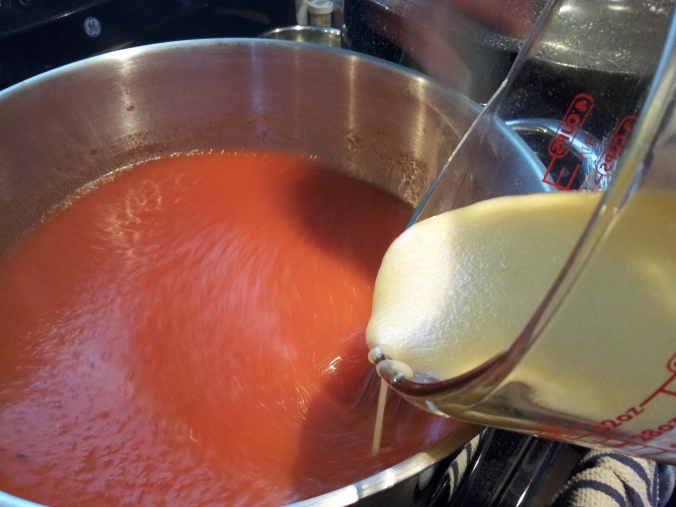
The original recipe called for 2 sticks melted margarine mixed with 1 C. flour but this is what it turned into....BLAH! Scratch that one!

Instead I used 2 sticks melted BUTTER and 1 C. flour and got this instead. Success! So if you think you can cheat and use the cheap ole' margarine, DON'T. You will certainly regret ruining your batch of soup.

Slowly add the flour/butter mixture to the soup whisking the entire time. (Now I know why my mom was so happy we bought her an immersion blender for Christmas this past year. Wow! Talk about an arm workout when using a whisk!)
Prepare 7 quart jars (need to be really hot - like straight from the steam setting on your dishwasher), lids (boiled inside a small saucepan), and canning rings/bands. Fill each jar leaving a 1/2-inch head space, clean tops with a clean, damp cloth ensuring there is no food or cracks along the surface, then place a hot lid on top and tighten down with a band. For more step-by-step instructions on the canning process, head over here.
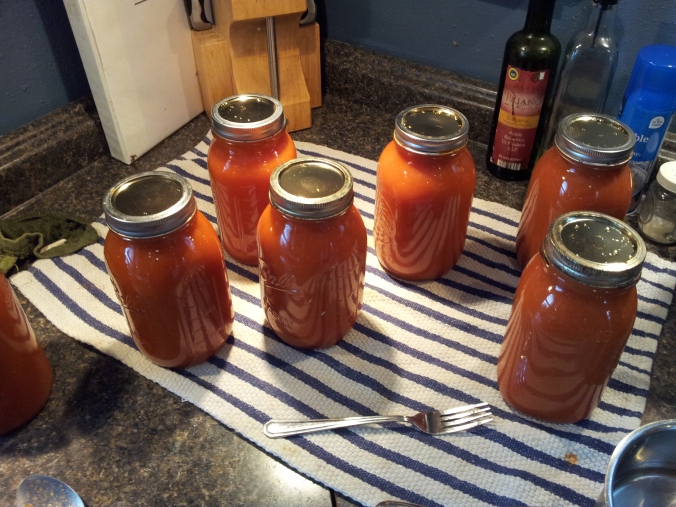
Process in a hot water canner for 20 minutes then remove and let rest for 24 hours before removing bands and storing. If the lid pops up after you press down on it, it means the jar didn't seal properly so place inside your refrigerator to eat in the next couple of days.
Didn't have quite enough to fill a whole quart jar, so that one will be Tim's lunch for tomorrow. Perfect for a stormy day! :-)

Final Price = $0.31/quart.... Wahoo!!!


