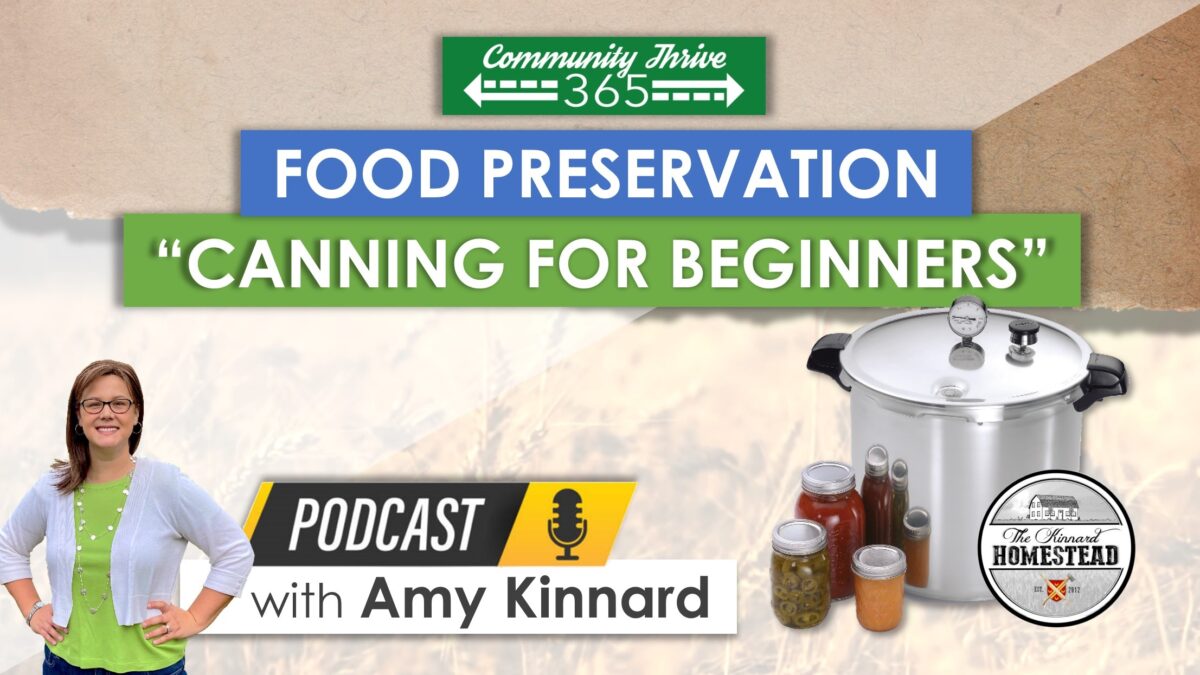
Food Preservation: Canning for Beginners
Interested in learning to preserve your own food? "Food Preservation: Canning for Beginners" is part of a series of skill-building community classes offered in partnership with 'Community Thrive 365' in North Little Rock, Arkansas. The series is intended to teach attendees practical do-it-yourself skills that promote health, financial...