Homemade Vanilla Cake

I have been on a quest to find the perfect homemade vanilla cake recipe to match the Hershey's "Perfectly Chocolate Chocolate Cake". When it comes to moist, melt-in-your-mouth texture, no recipe can come close to Hershey's in my humble opinion. (For those who have tried to make this recipe with failed results, I will say that the most important direction on the recipe states to "mix for 2 minutes on medium speed before adding boiling water." This is a MUST to getting a perfect product!) So don't poo-poo me when I say this is the best chocolate cake recipe floating around on the web. I challenge you to change my mind by sending me your "best" chocolate cake recipe.
I finally discovered a forum where a person asked the same question I was asking, "How do I change a fabulous chocolate cake recipe into a vanilla cake?". One smarty-pants baker responded with the whole scientific reason for all the ingredients listed in the original recipe and what needed to be done to compensate when eliminating the cocoa powder. Whoa! Here I was thinking all I would really need to do was take out the dry cocoa powder and replace it with another dry ingredient like flour.
WRONG!
Cocoa powder contains fat which effects the final texture of the cake as well as other needed chemicals to react to the baking soda and baking powder. More sugar is needed with the chocolate cake to compensate for the bitter cocoa powder. Also the boiling water is needed to enhance the chocolate flavor and "meld" the sugar and cocoa together.
My first try at adapting the recipe resulted in the right texture and taste, but I wasn't happy with the overall thickness of my layers. My next attempt created a consistent result in taste and texture, but I mixed together 1.5 recipes instead of 1 for more batter. It worked, but word of warning, it may overflow your pans slightly depending on how deep the sides are. Future recommendation to myself and others would be to remove a few tablespoons of batter from each layer pan before baking. (You just have to eyeball it for yourself.)
I love the ease it takes to whip this cake together on top of the amazing texture. It pairs beautifully with a rich fudge frosting or buttercream frosting since it is not overly sweet. It's a great "blank canvas" to adding whatever flavors you can think of - like a fresh fruit-filled center with pudding topped with homemade whip cream. That just screams "SUMMER!!!"
What You Will Need
- 2 1/2 C. sugar
- 3 C. all-purpose flour
- 4 1/2 tsp. baking powder
- 1 1/2 tsp. salt
- 3 eggs
- 3/4 C. melted butter
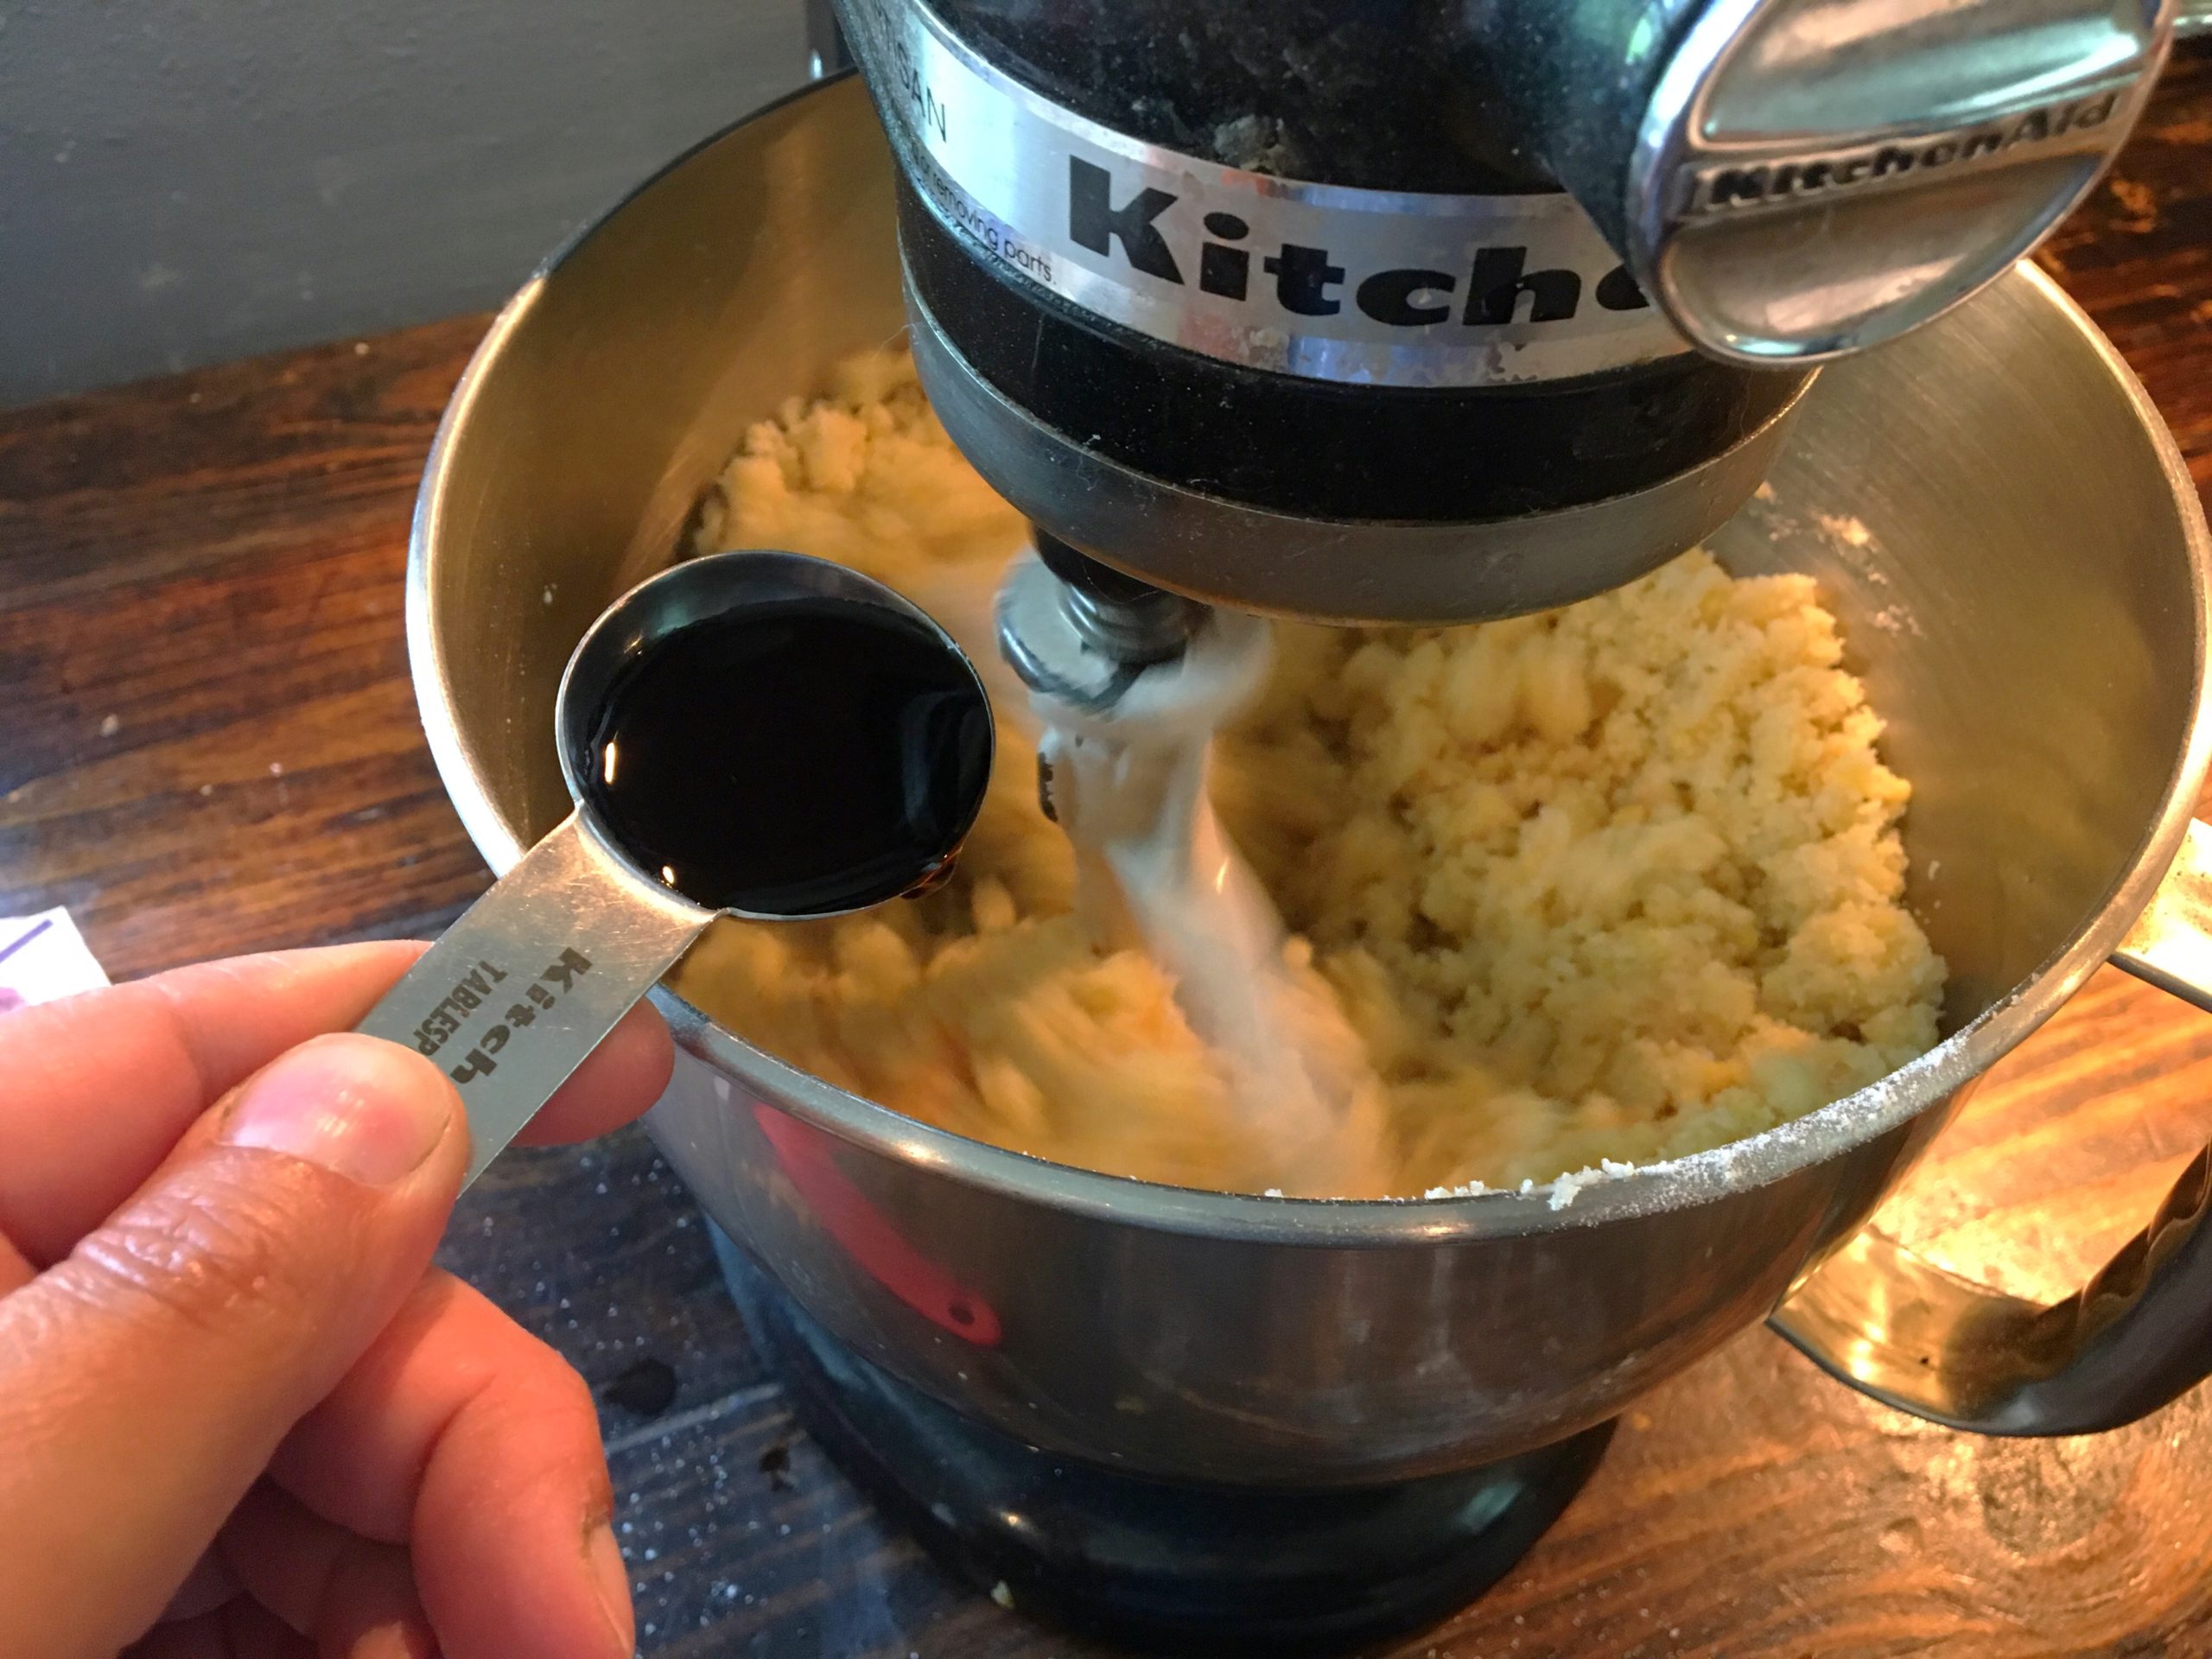
- 2 T. vanilla
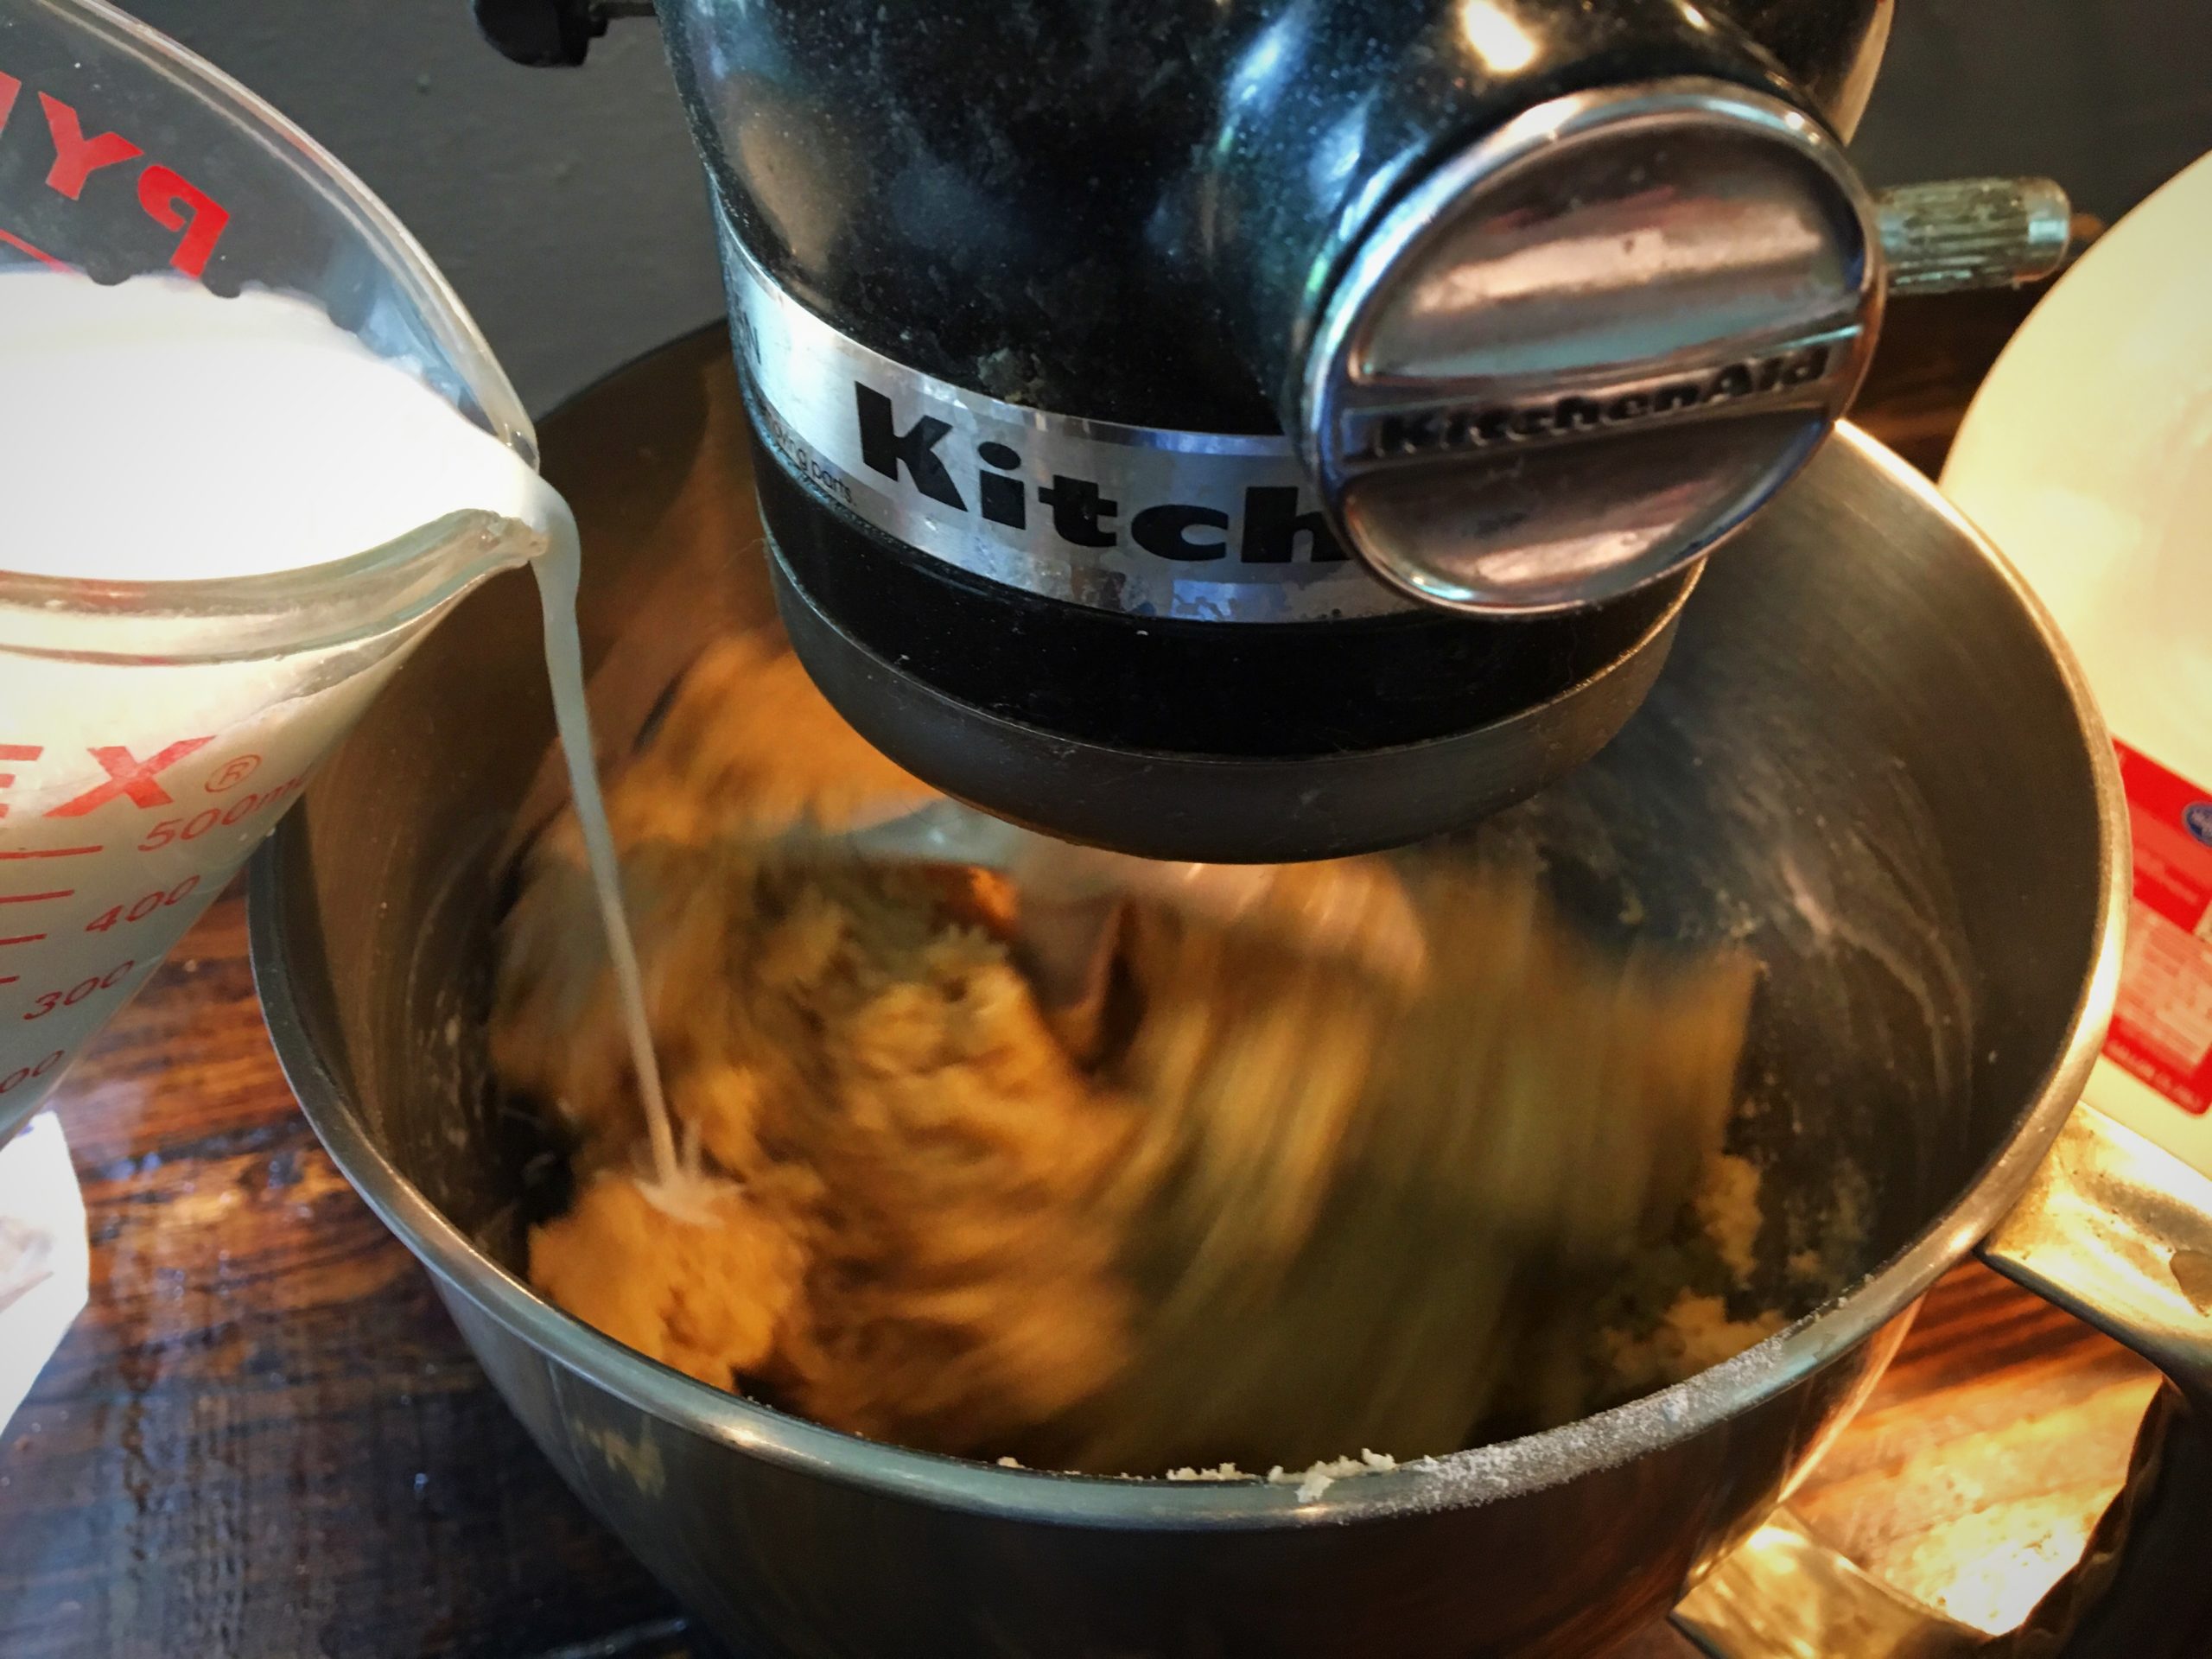
- 3 C. whole milk
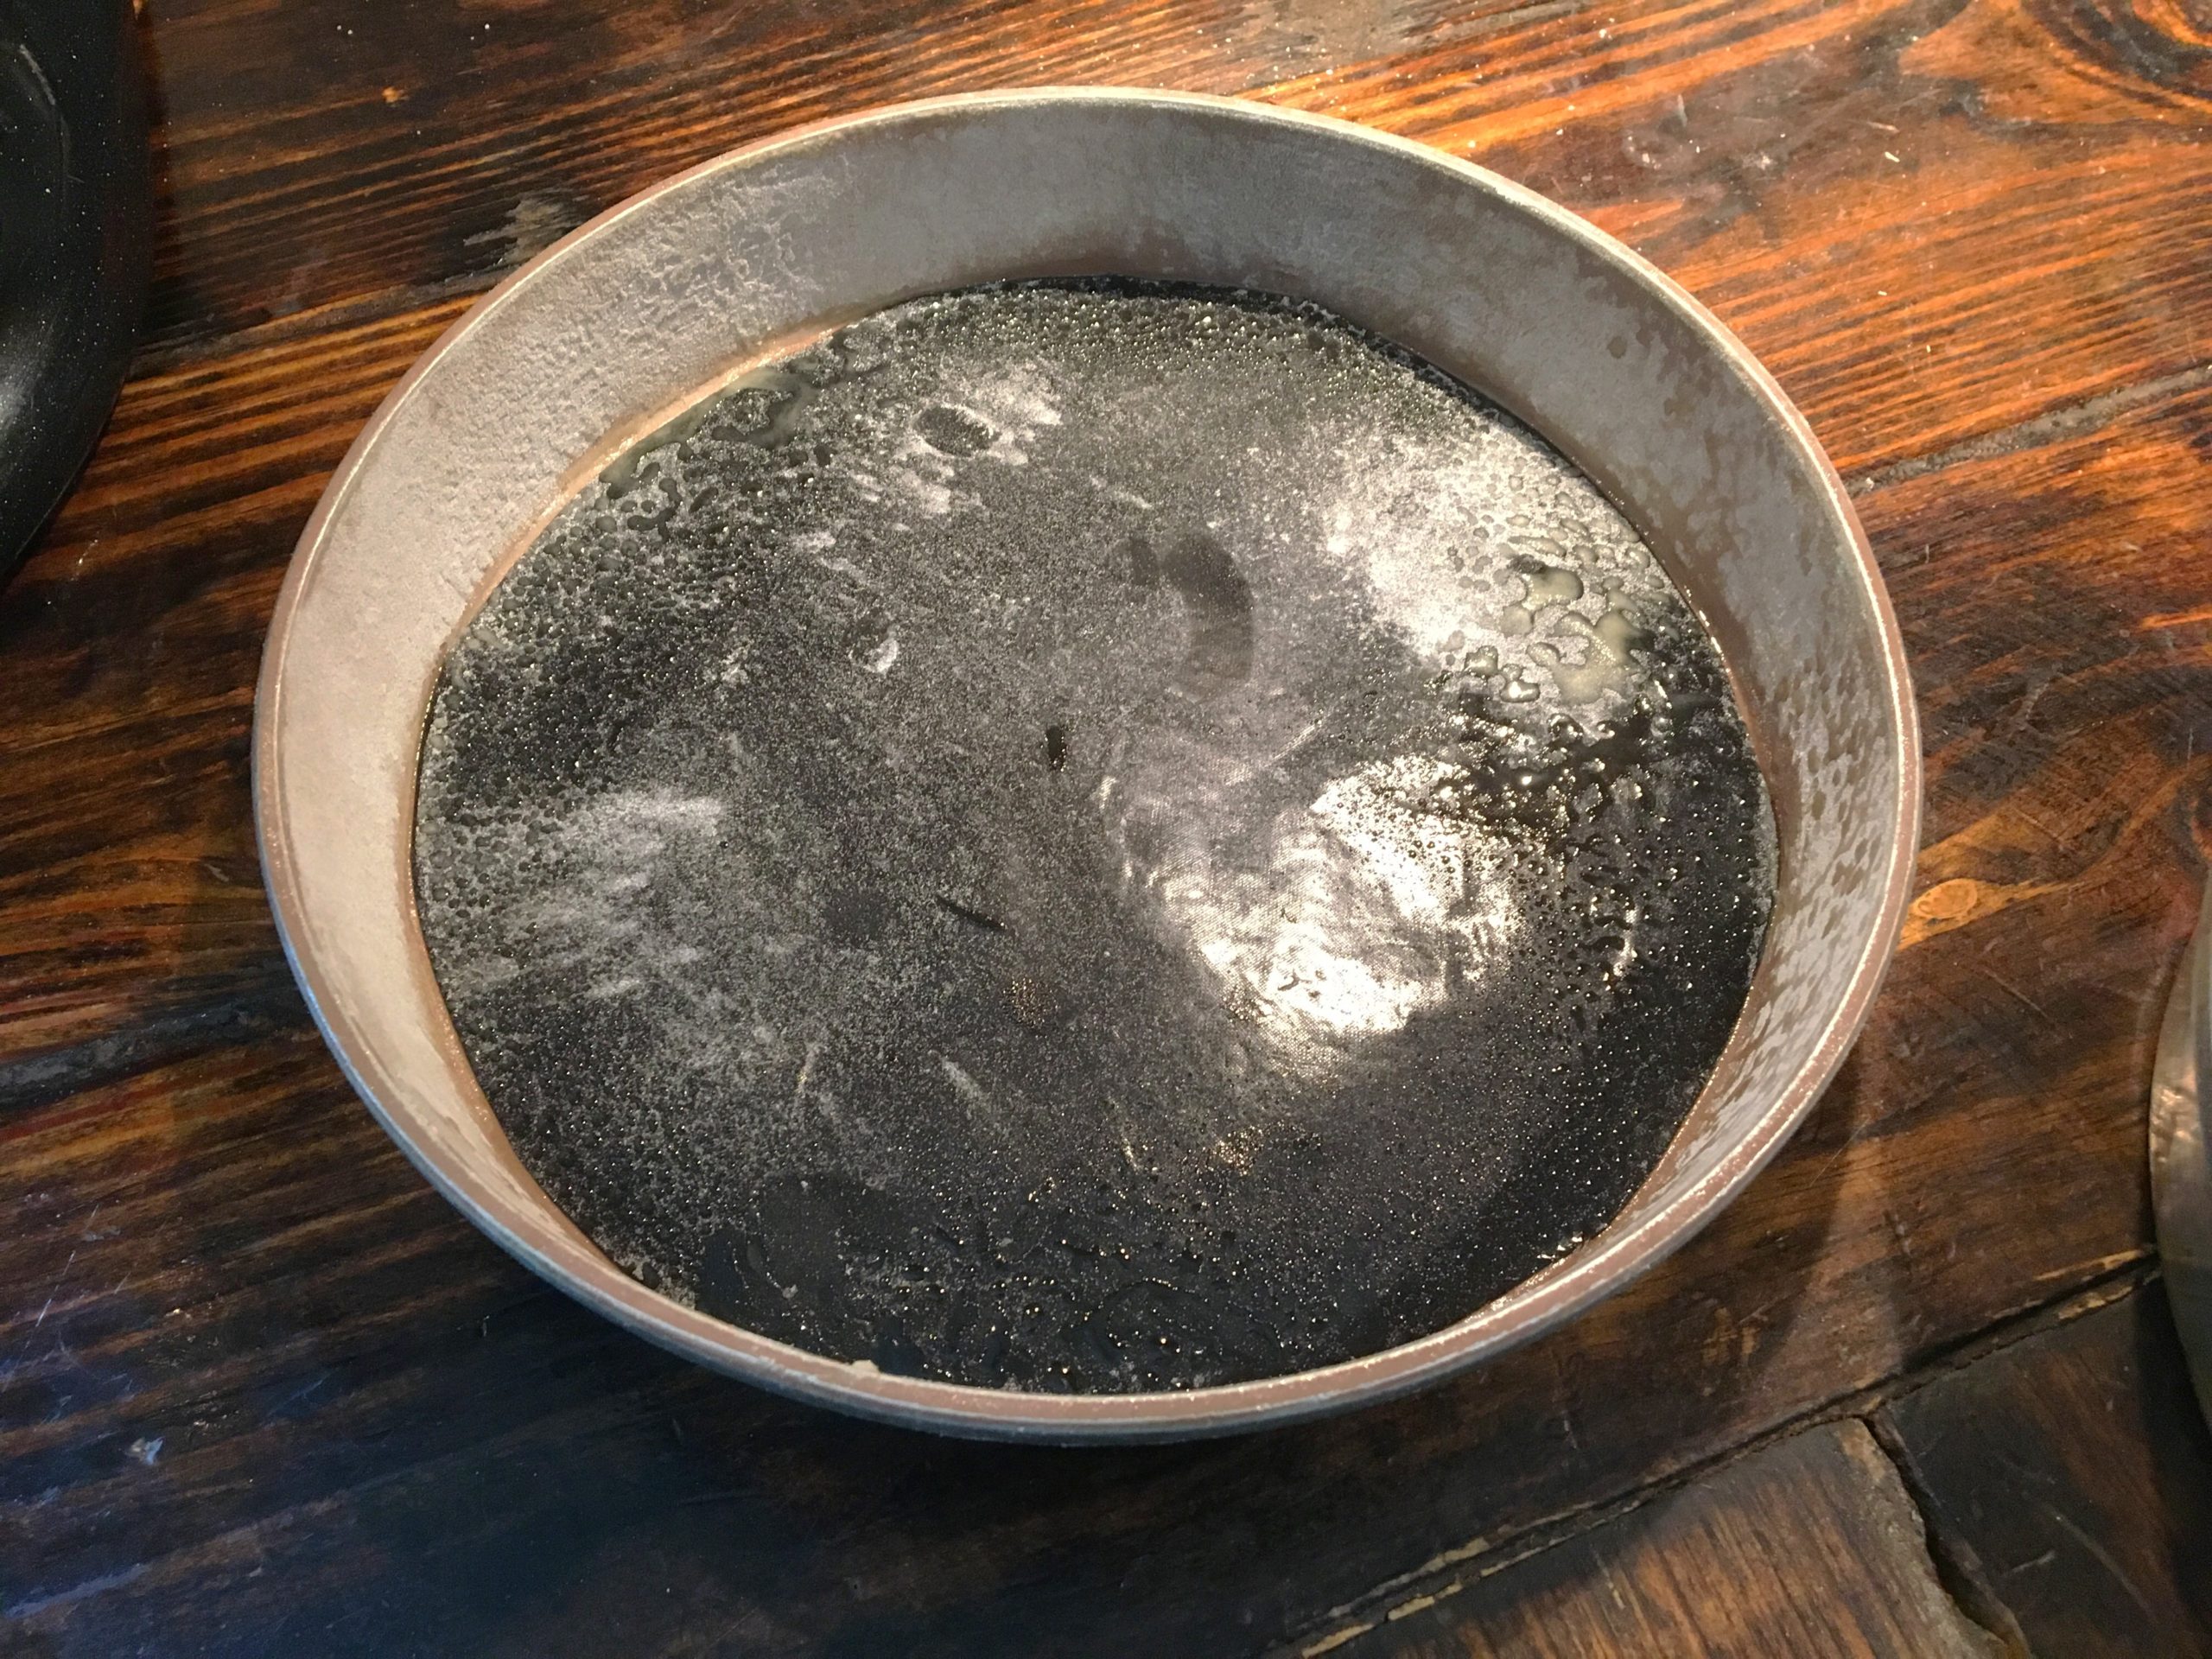
- (2) 9" cake pans
A Few Hints:
- Use parchment paper or silicone mat to help with your cake not sticking to the pan.
- Don't forget to slowly add the milk a little at a time so that it doesn't form clumps in the batter.
- Don't forget to mix for 2 minutes on medium speed before pouring into your pans.
Step-by-Step Instructions

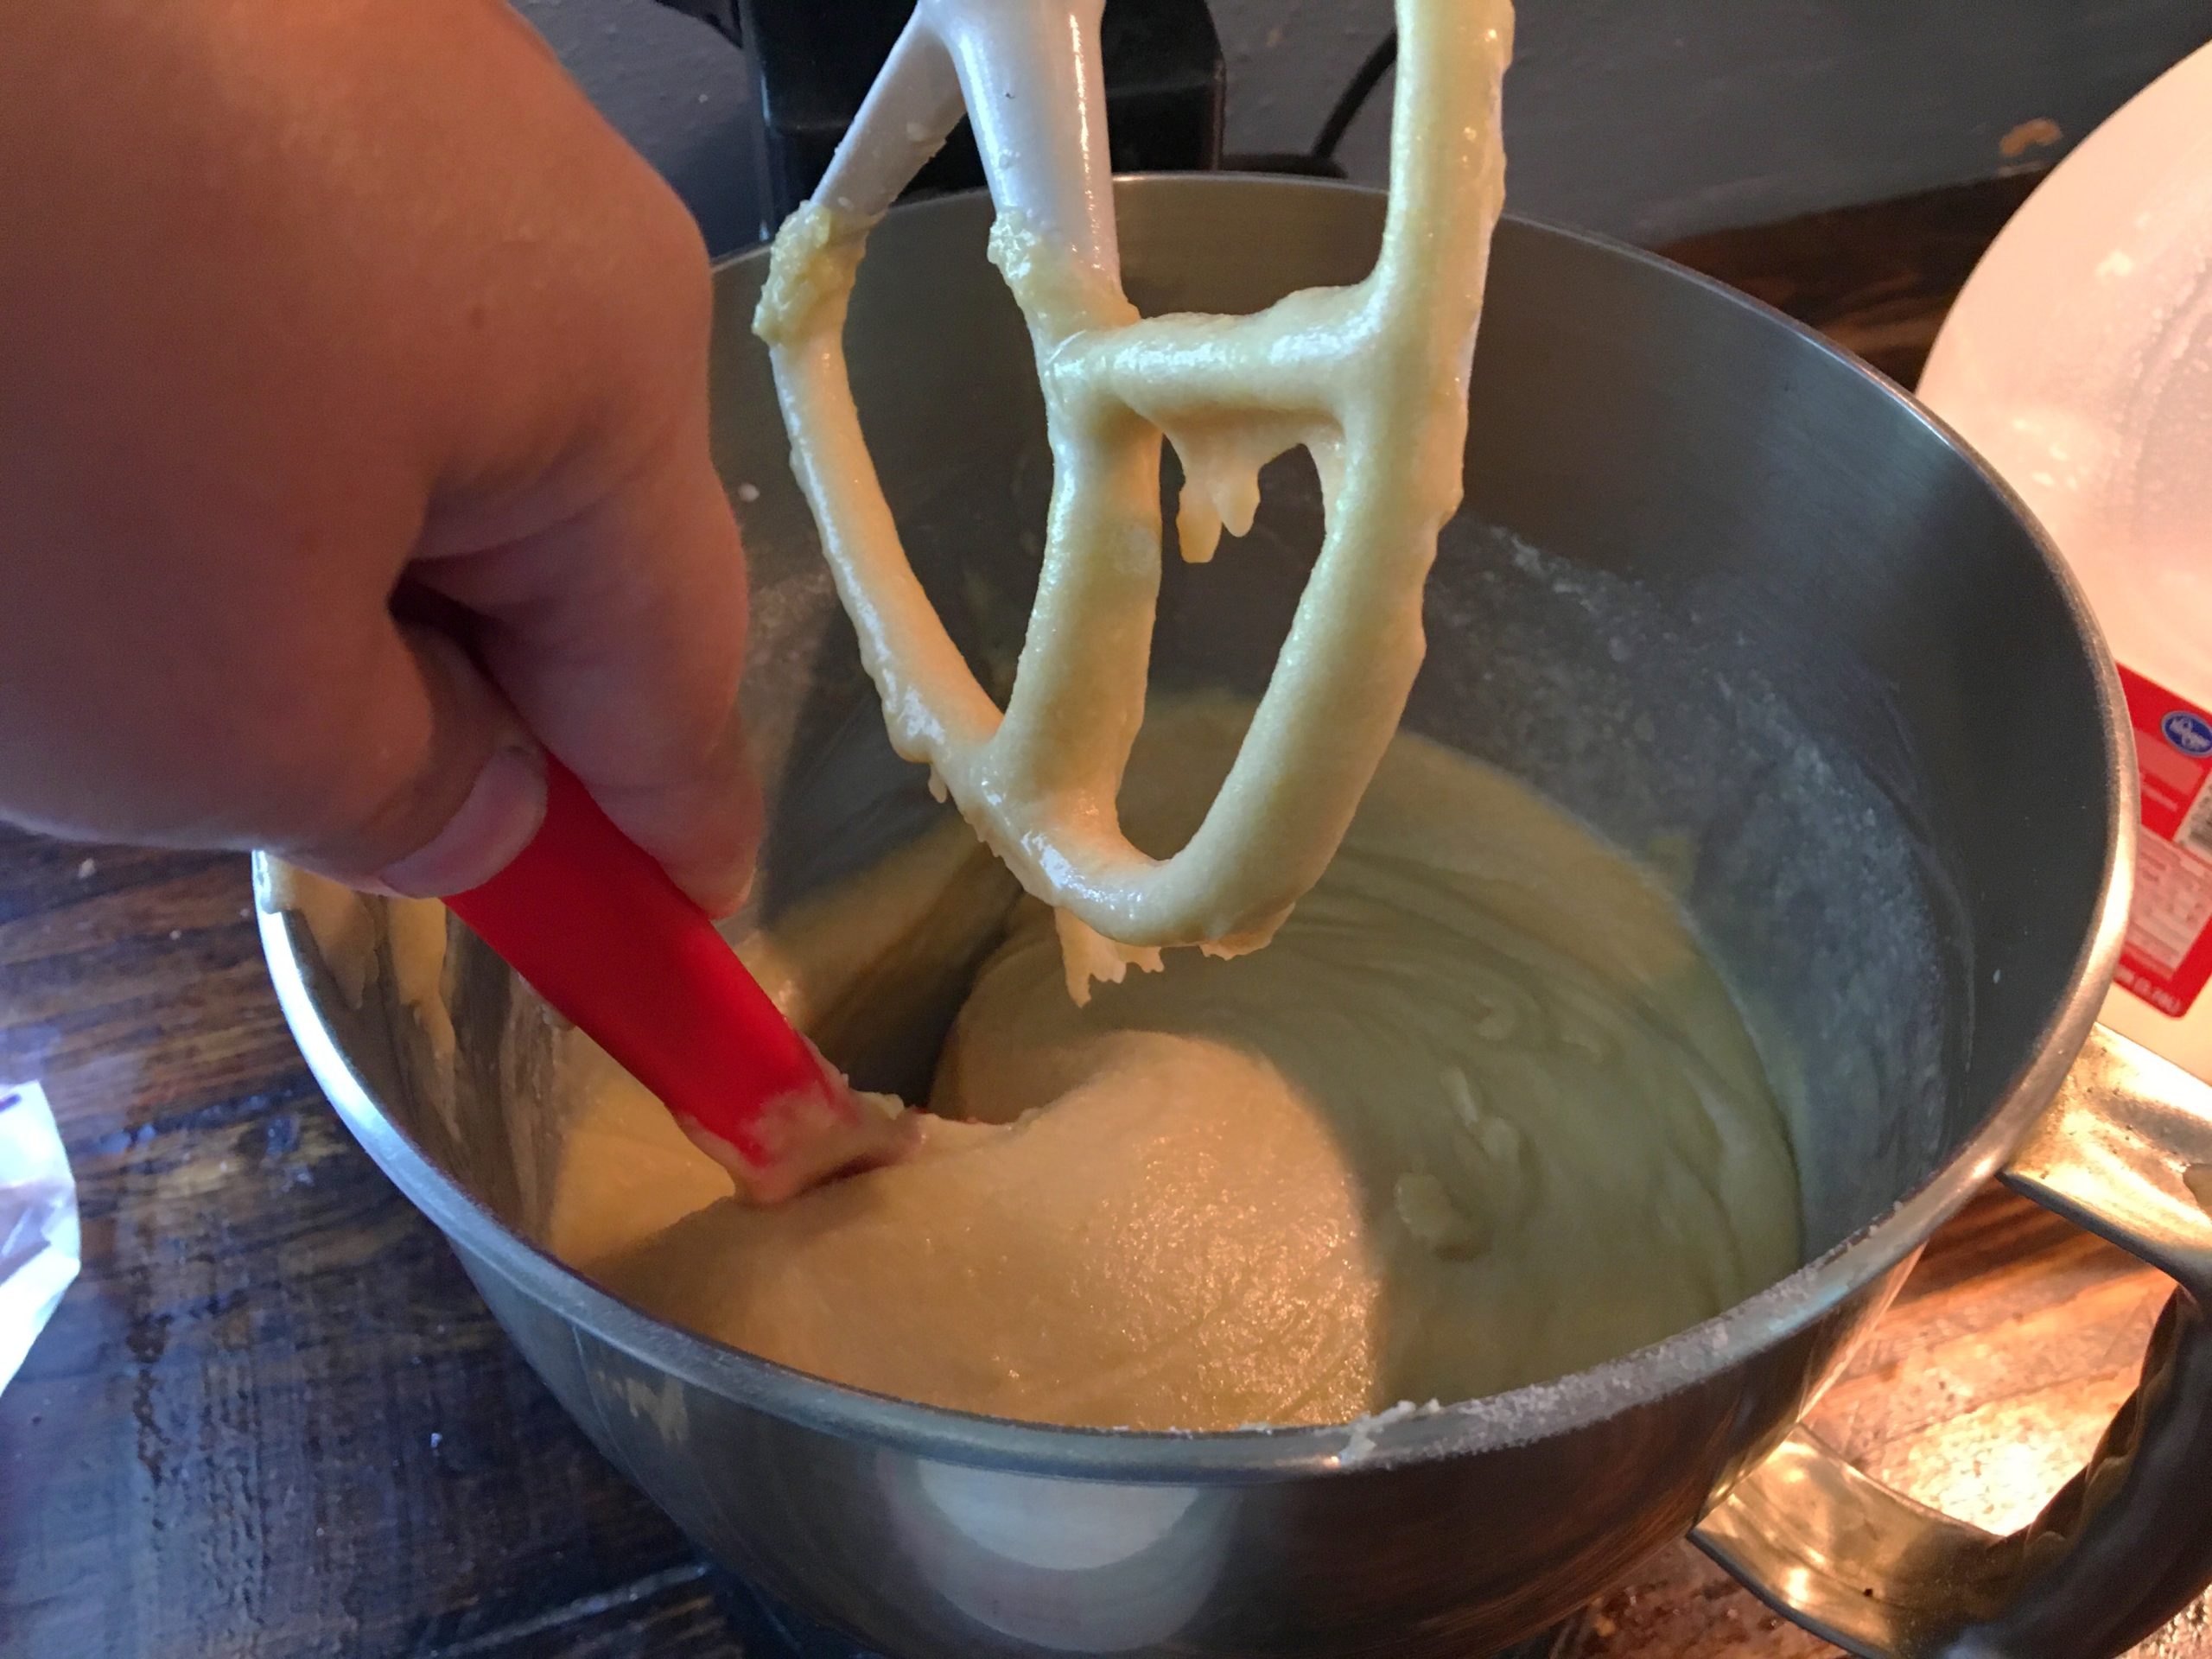
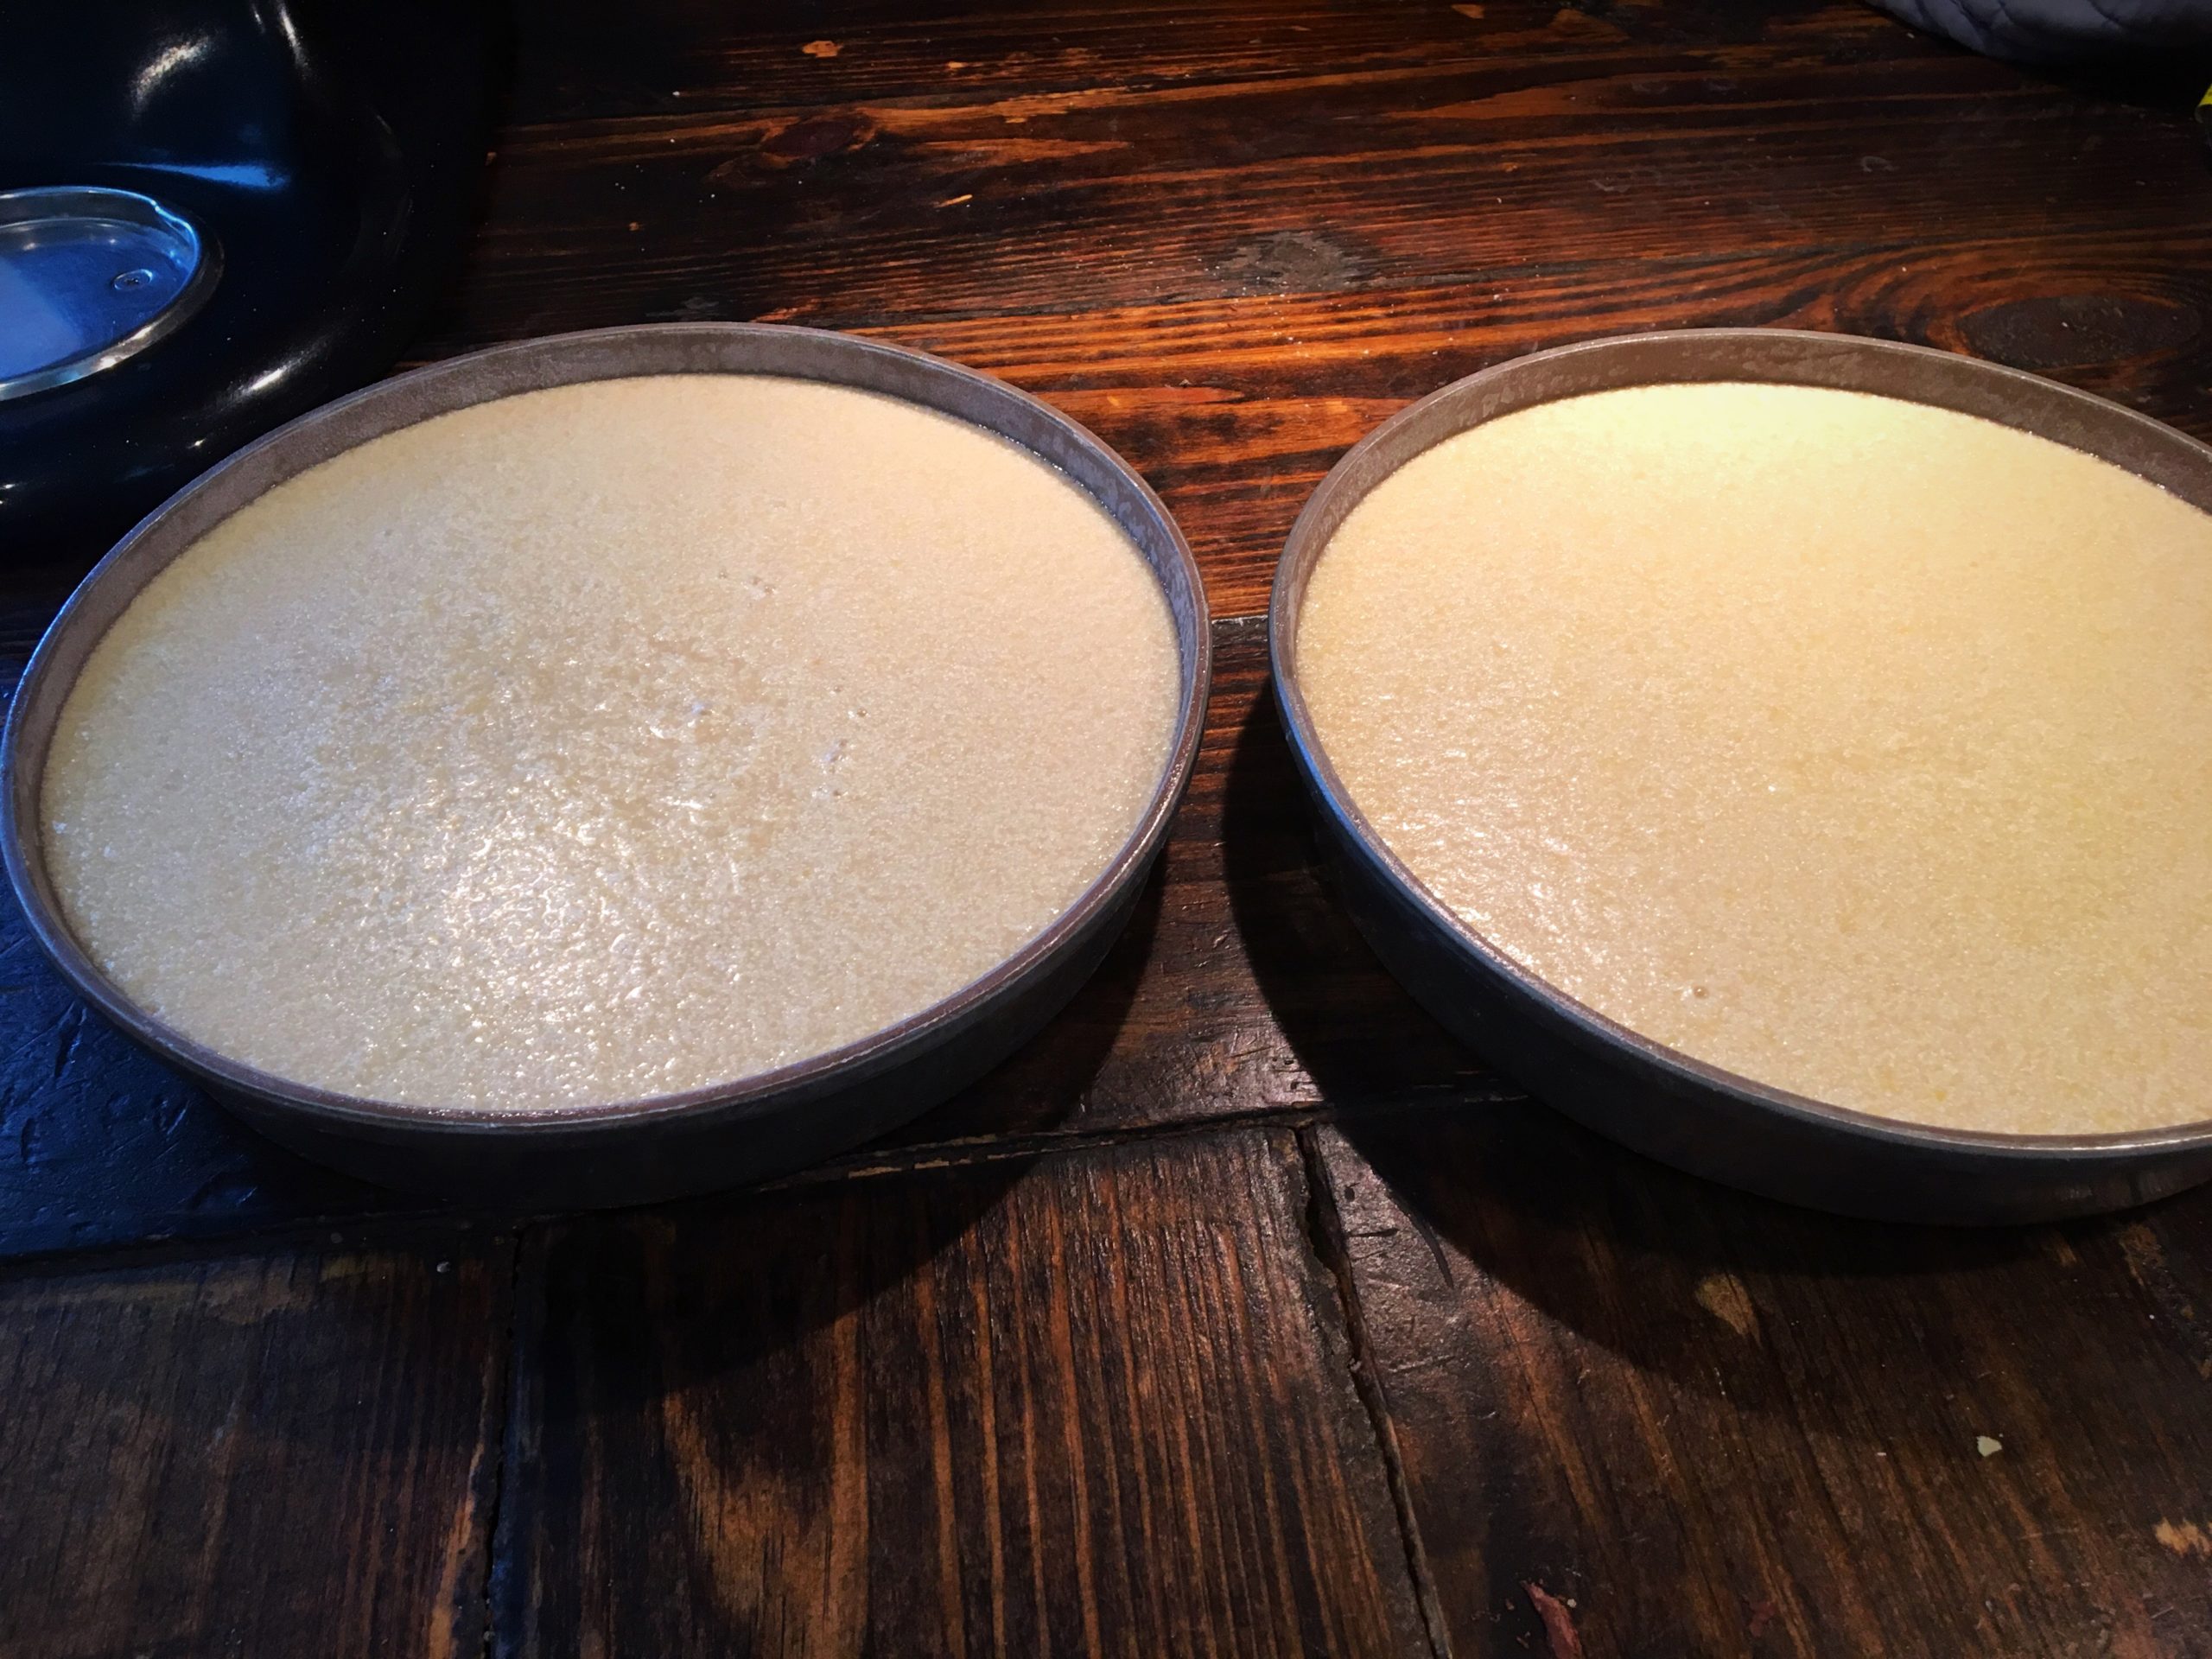

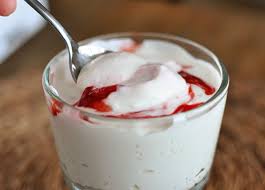
As you can see, this cake is super moist and "fudgy" (well in a vanilla-version of fudgy).


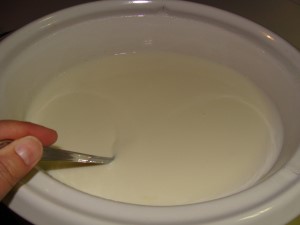


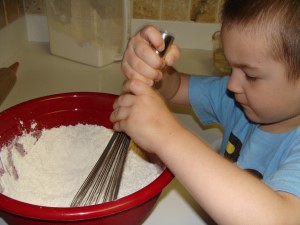


 STEP 1
To make one pizza crust mix 2 1/4 tsp instant yeast (1 package) with 1 T. sugar and 1 C. warm water. Let set for a few minutes until the yeast forms a nice froth on top.
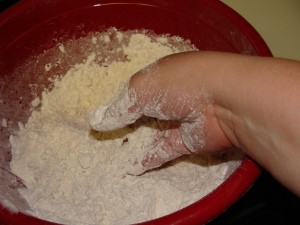
STEP 2
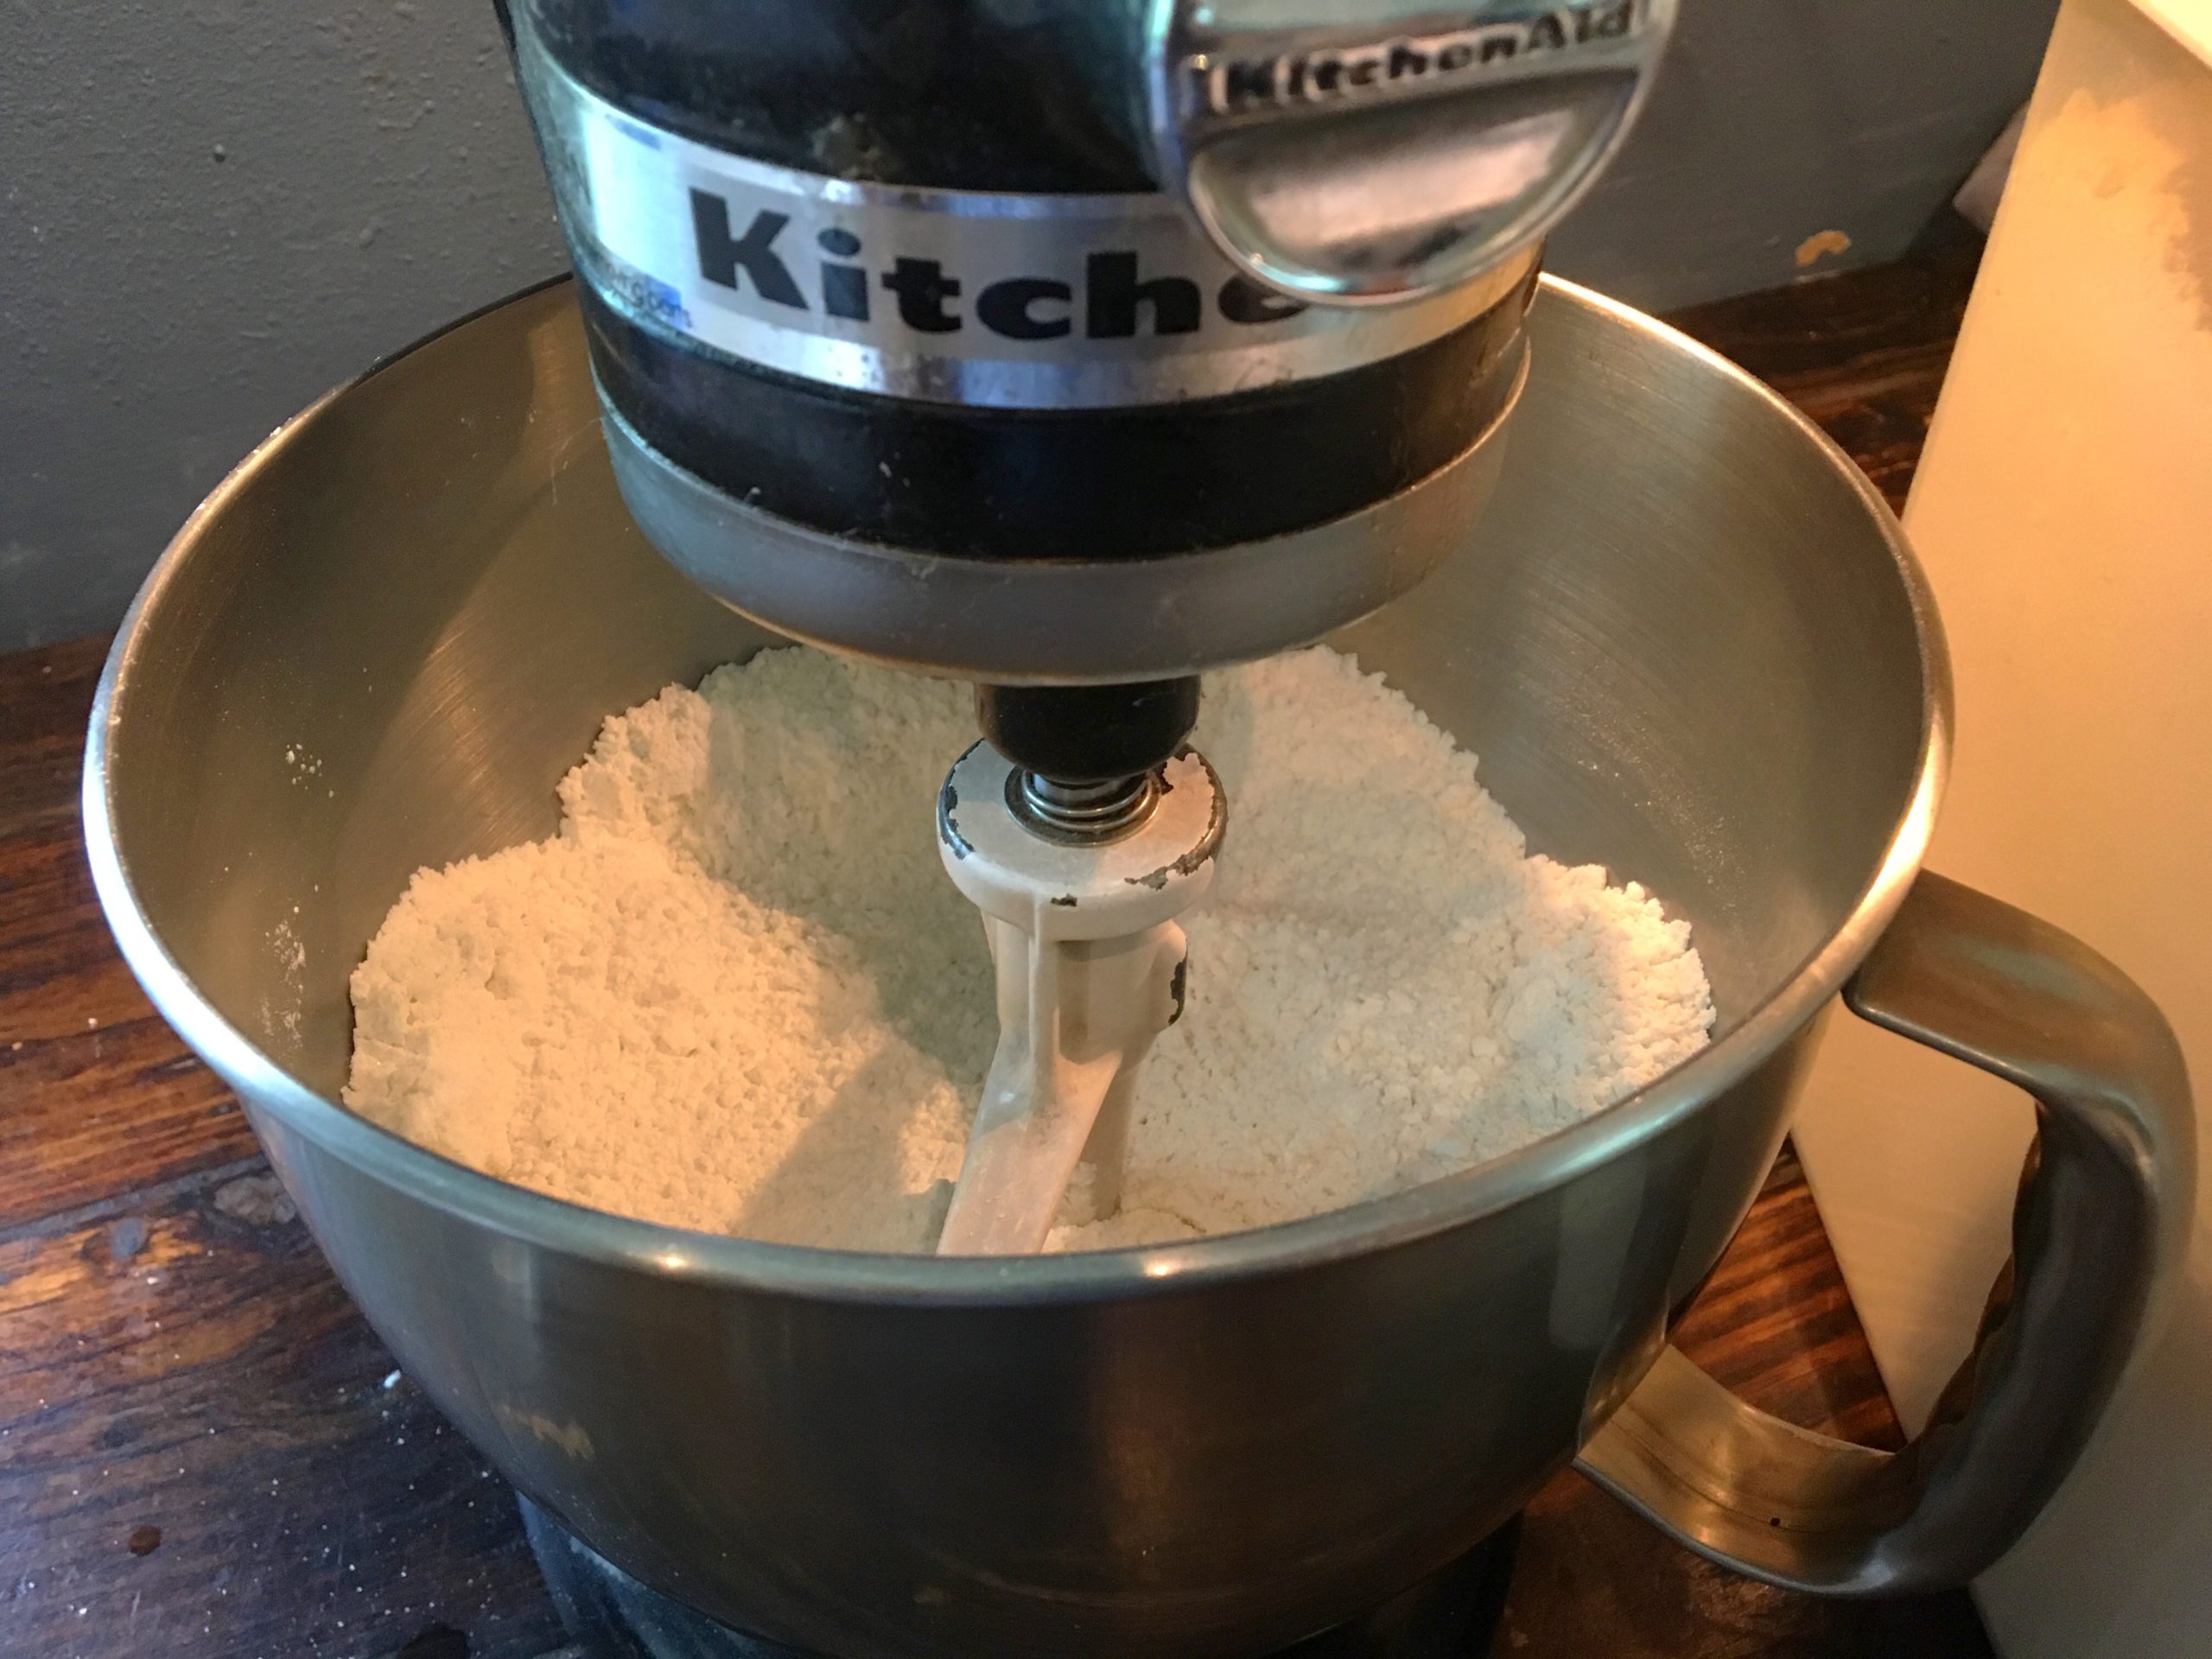
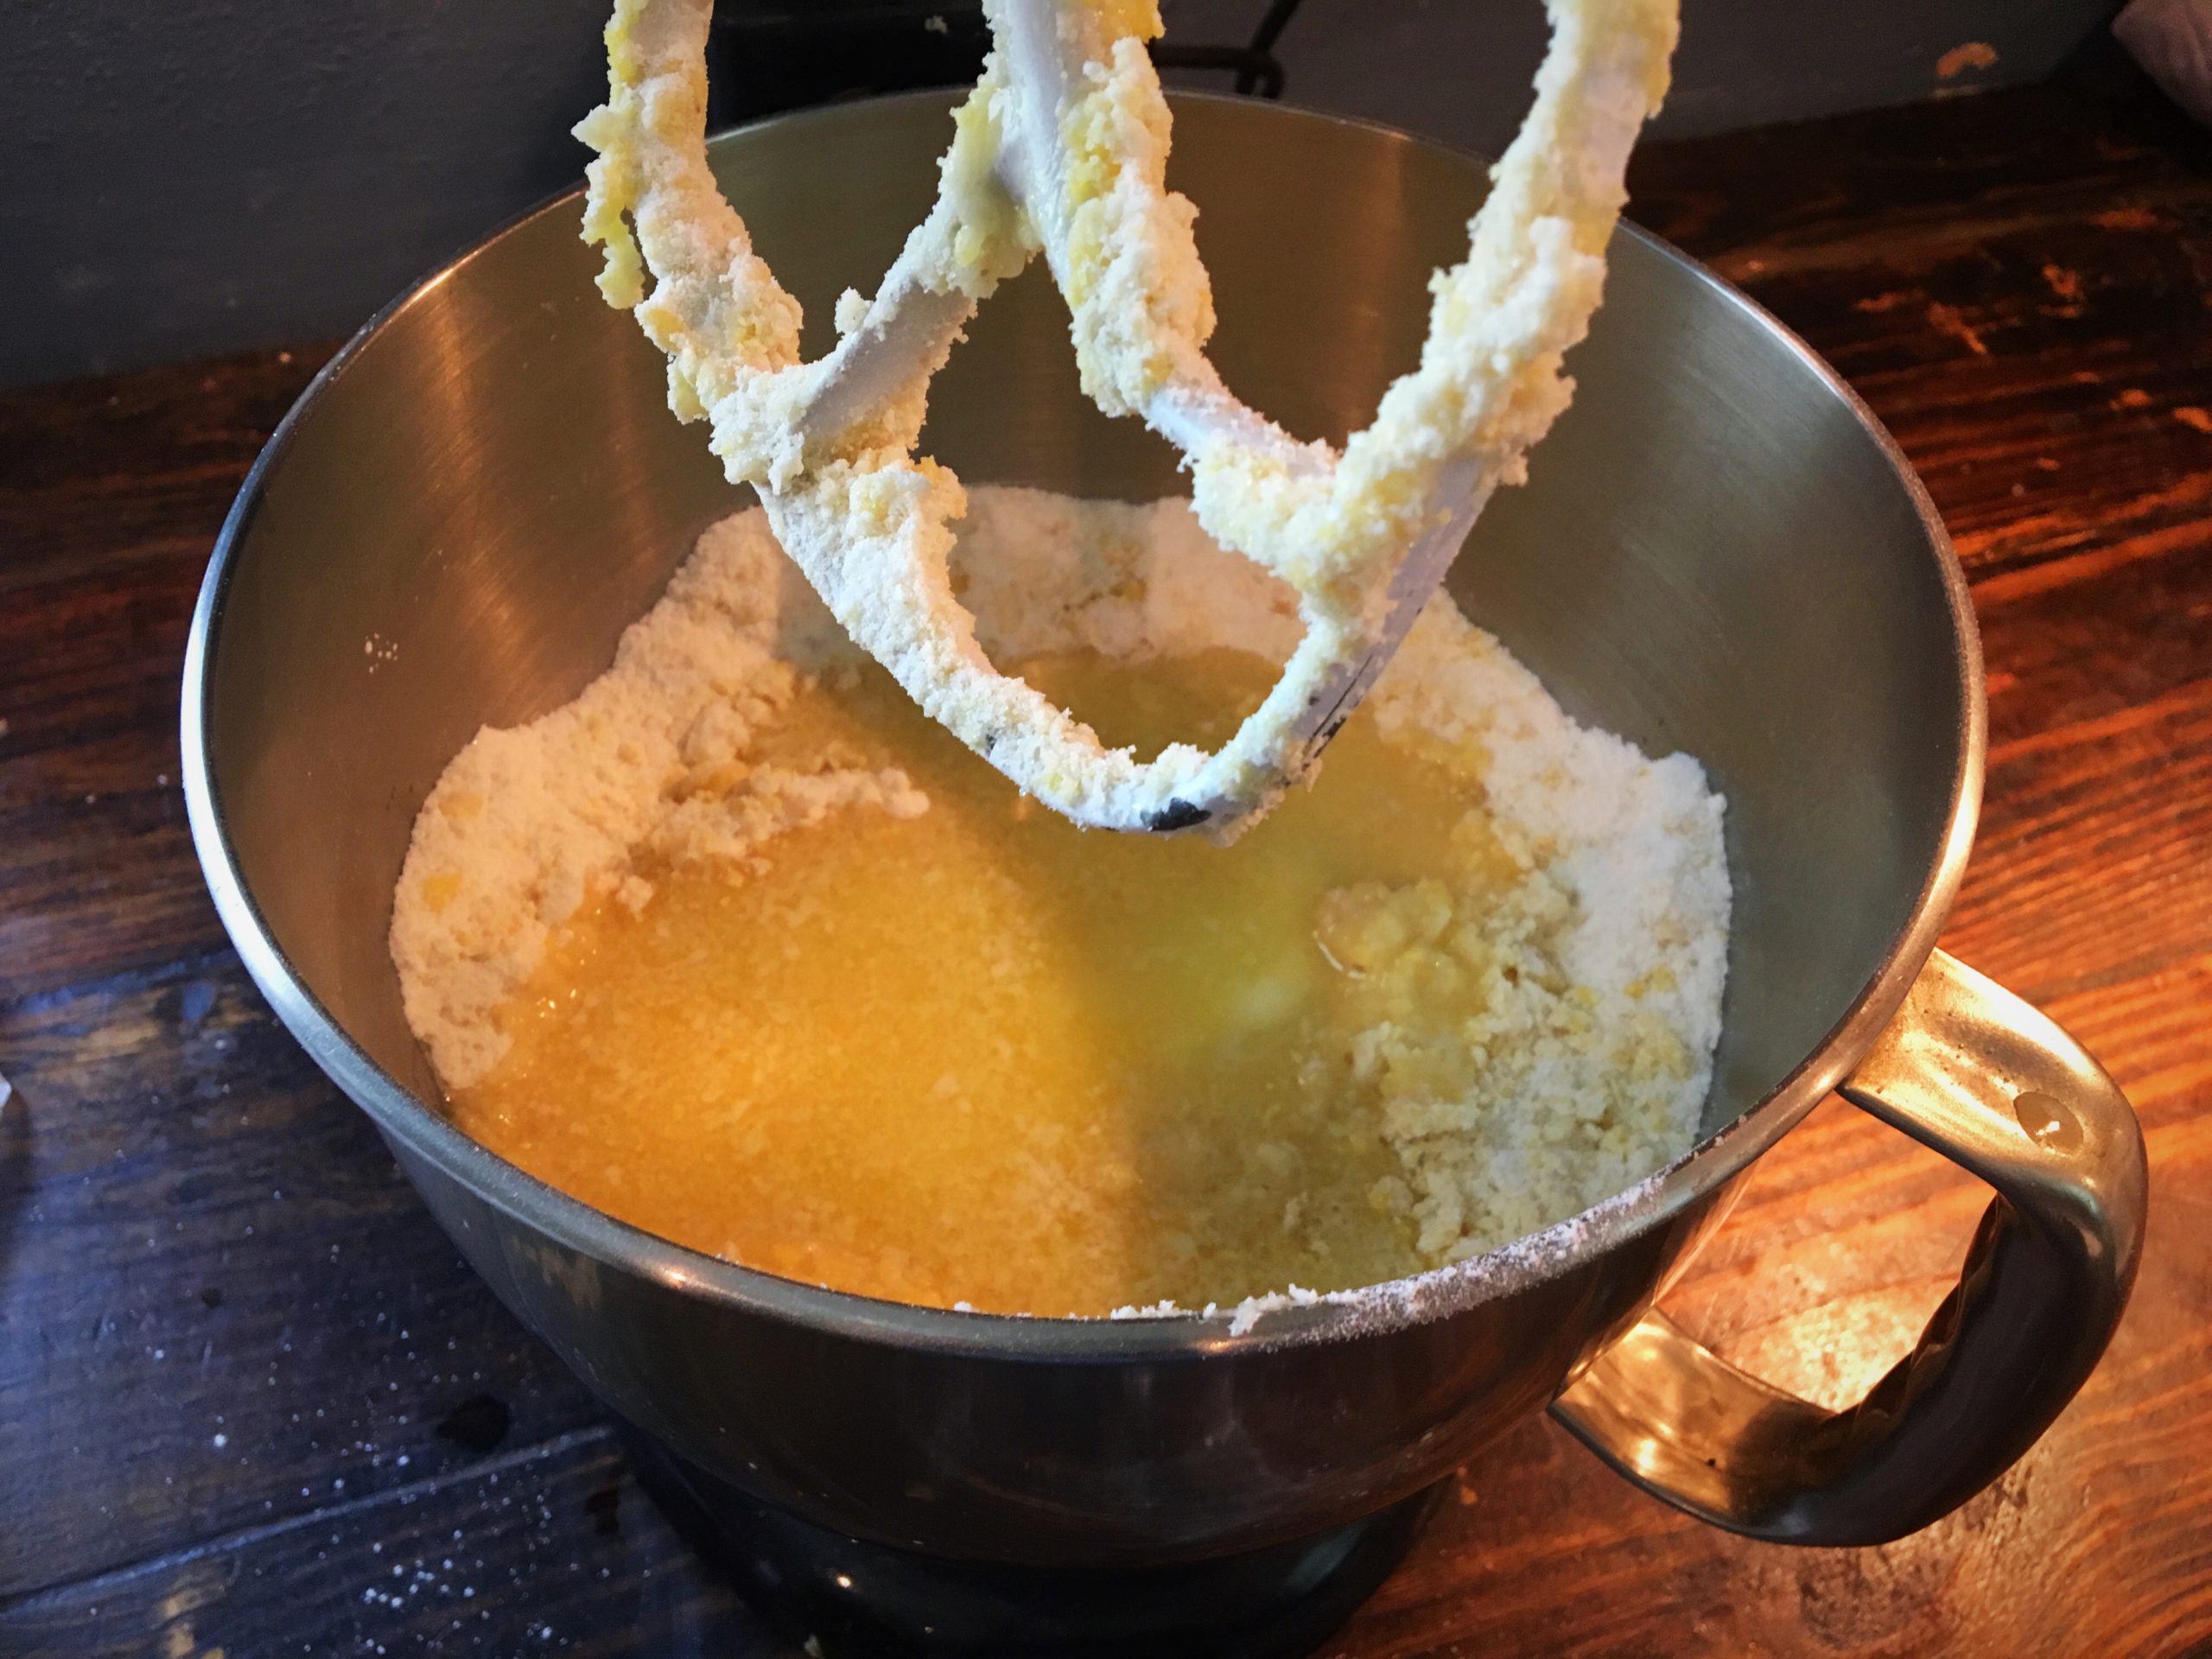
Add 2 C. all purpose flour, 1 T. oil and 1 1/2 tsp. salt to the yeast mixture. Mix on speed 2 for 2 minutes.
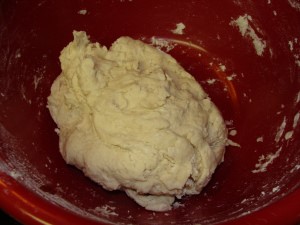
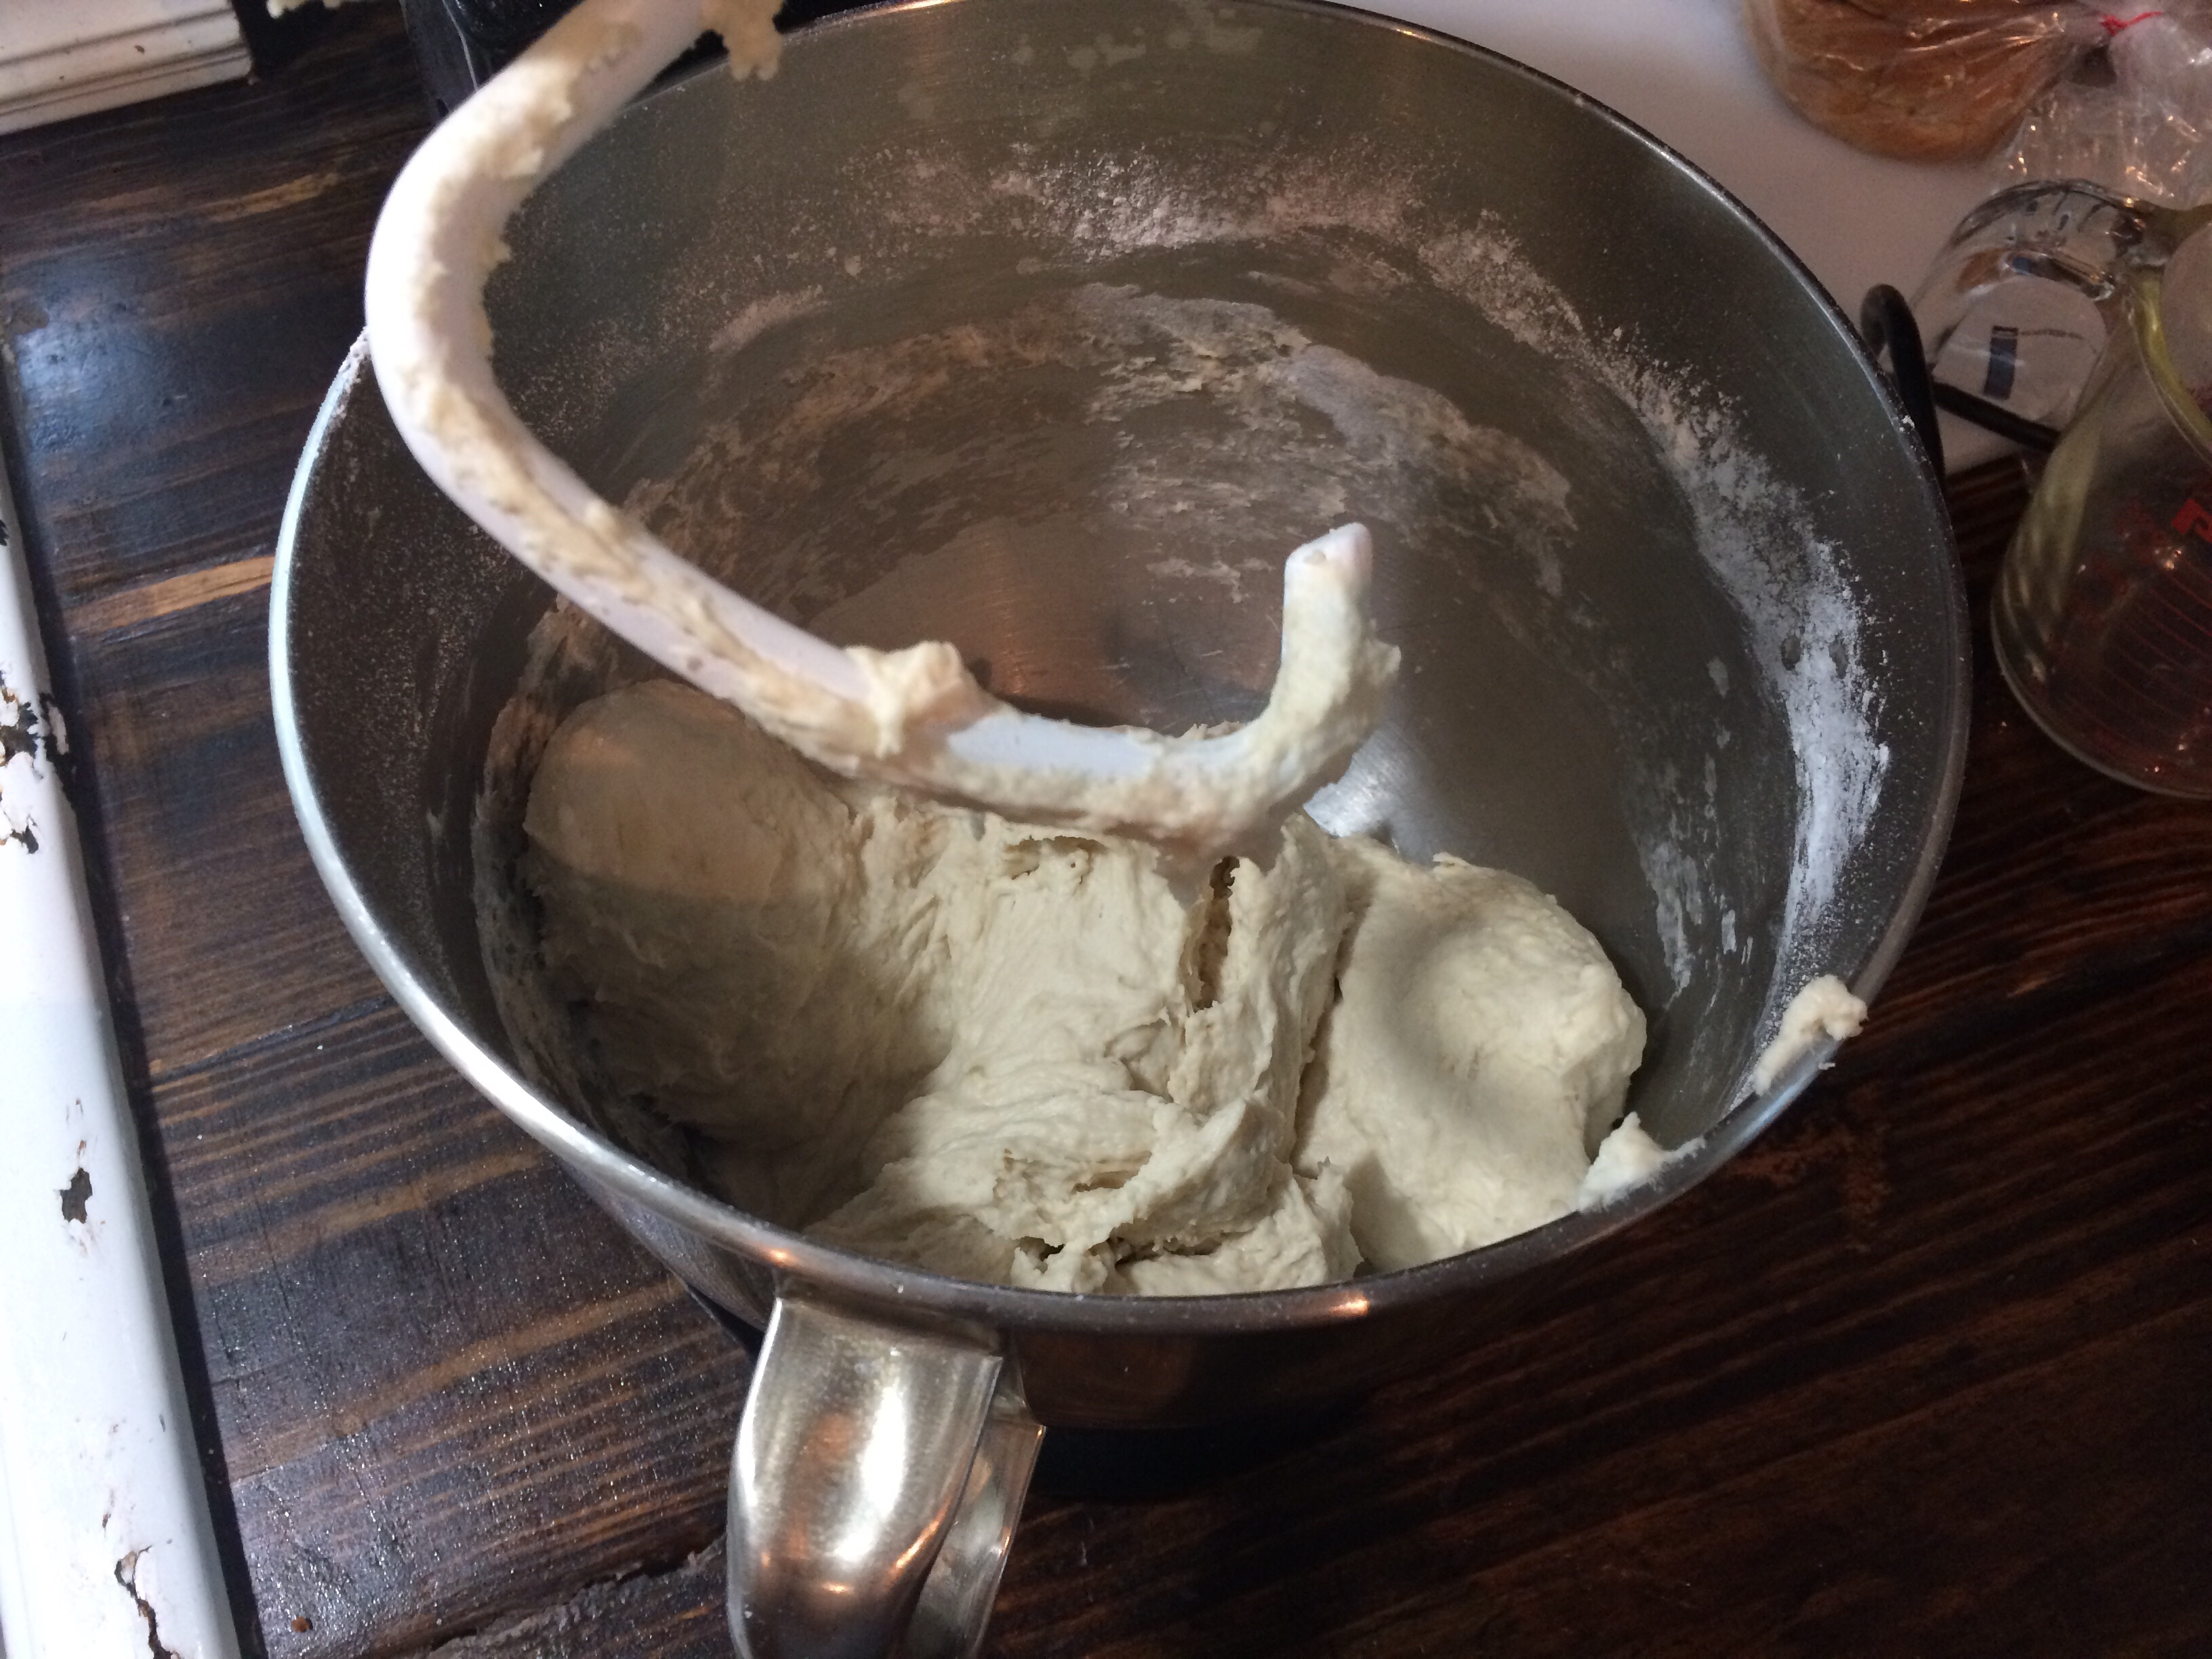
STEP 3
Add 1/2 C. flour and mix until the dough no longer sticks to the sides of the bowl.
STEP 1
To make one pizza crust mix 2 1/4 tsp instant yeast (1 package) with 1 T. sugar and 1 C. warm water. Let set for a few minutes until the yeast forms a nice froth on top.
STEP 2
Add 2 C. all purpose flour, 1 T. oil and 1 1/2 tsp. salt to the yeast mixture. Mix on speed 2 for 2 minutes.
STEP 3
Add 1/2 C. flour and mix until the dough no longer sticks to the sides of the bowl.
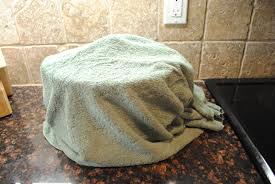
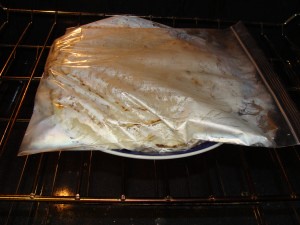
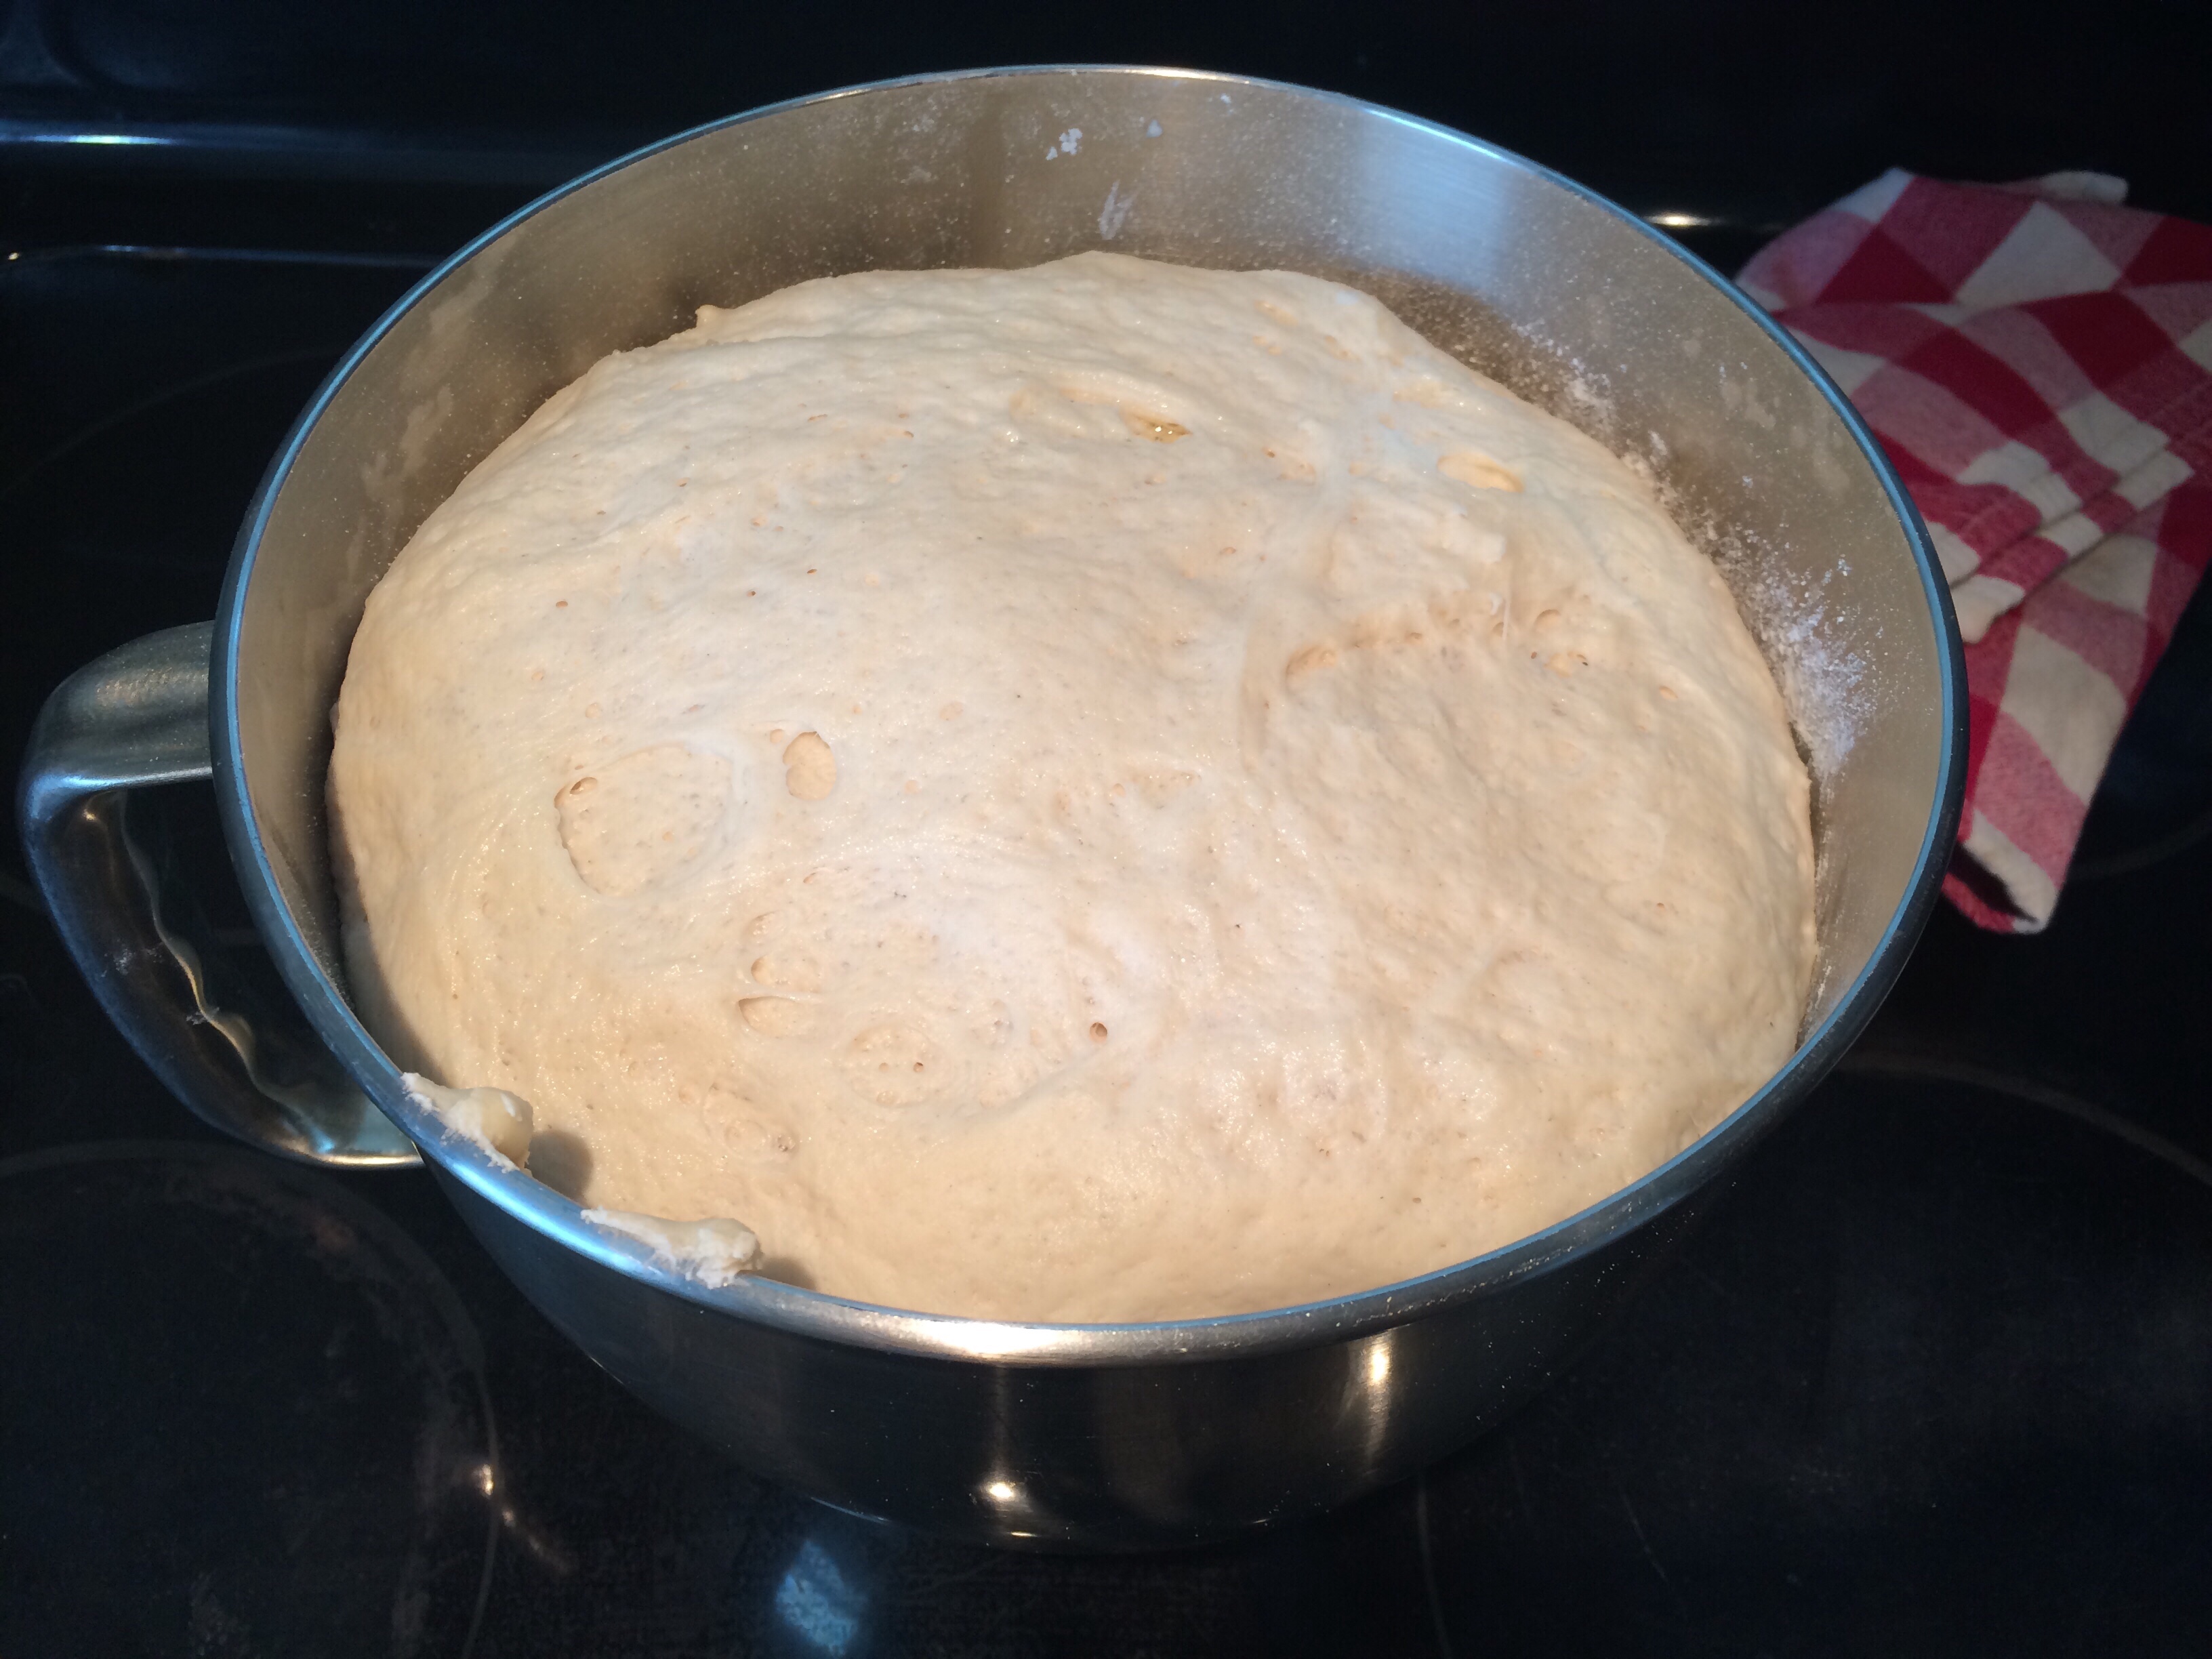
 STEP 4
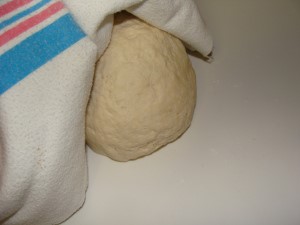
Cover bowl with a towel and set in a warm place for one hour to rise. FYI - This step is completely optional based on how much time you have. The pizza dough will still taste wonderful whether it has proofed or not but won't be quite as fluffy at the end.
STEP 4
Cover bowl with a towel and set in a warm place for one hour to rise. FYI - This step is completely optional based on how much time you have. The pizza dough will still taste wonderful whether it has proofed or not but won't be quite as fluffy at the end.
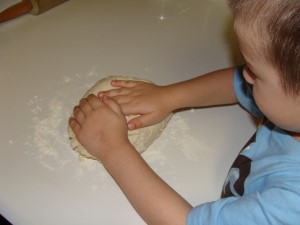
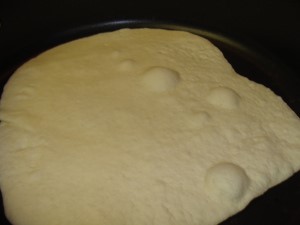
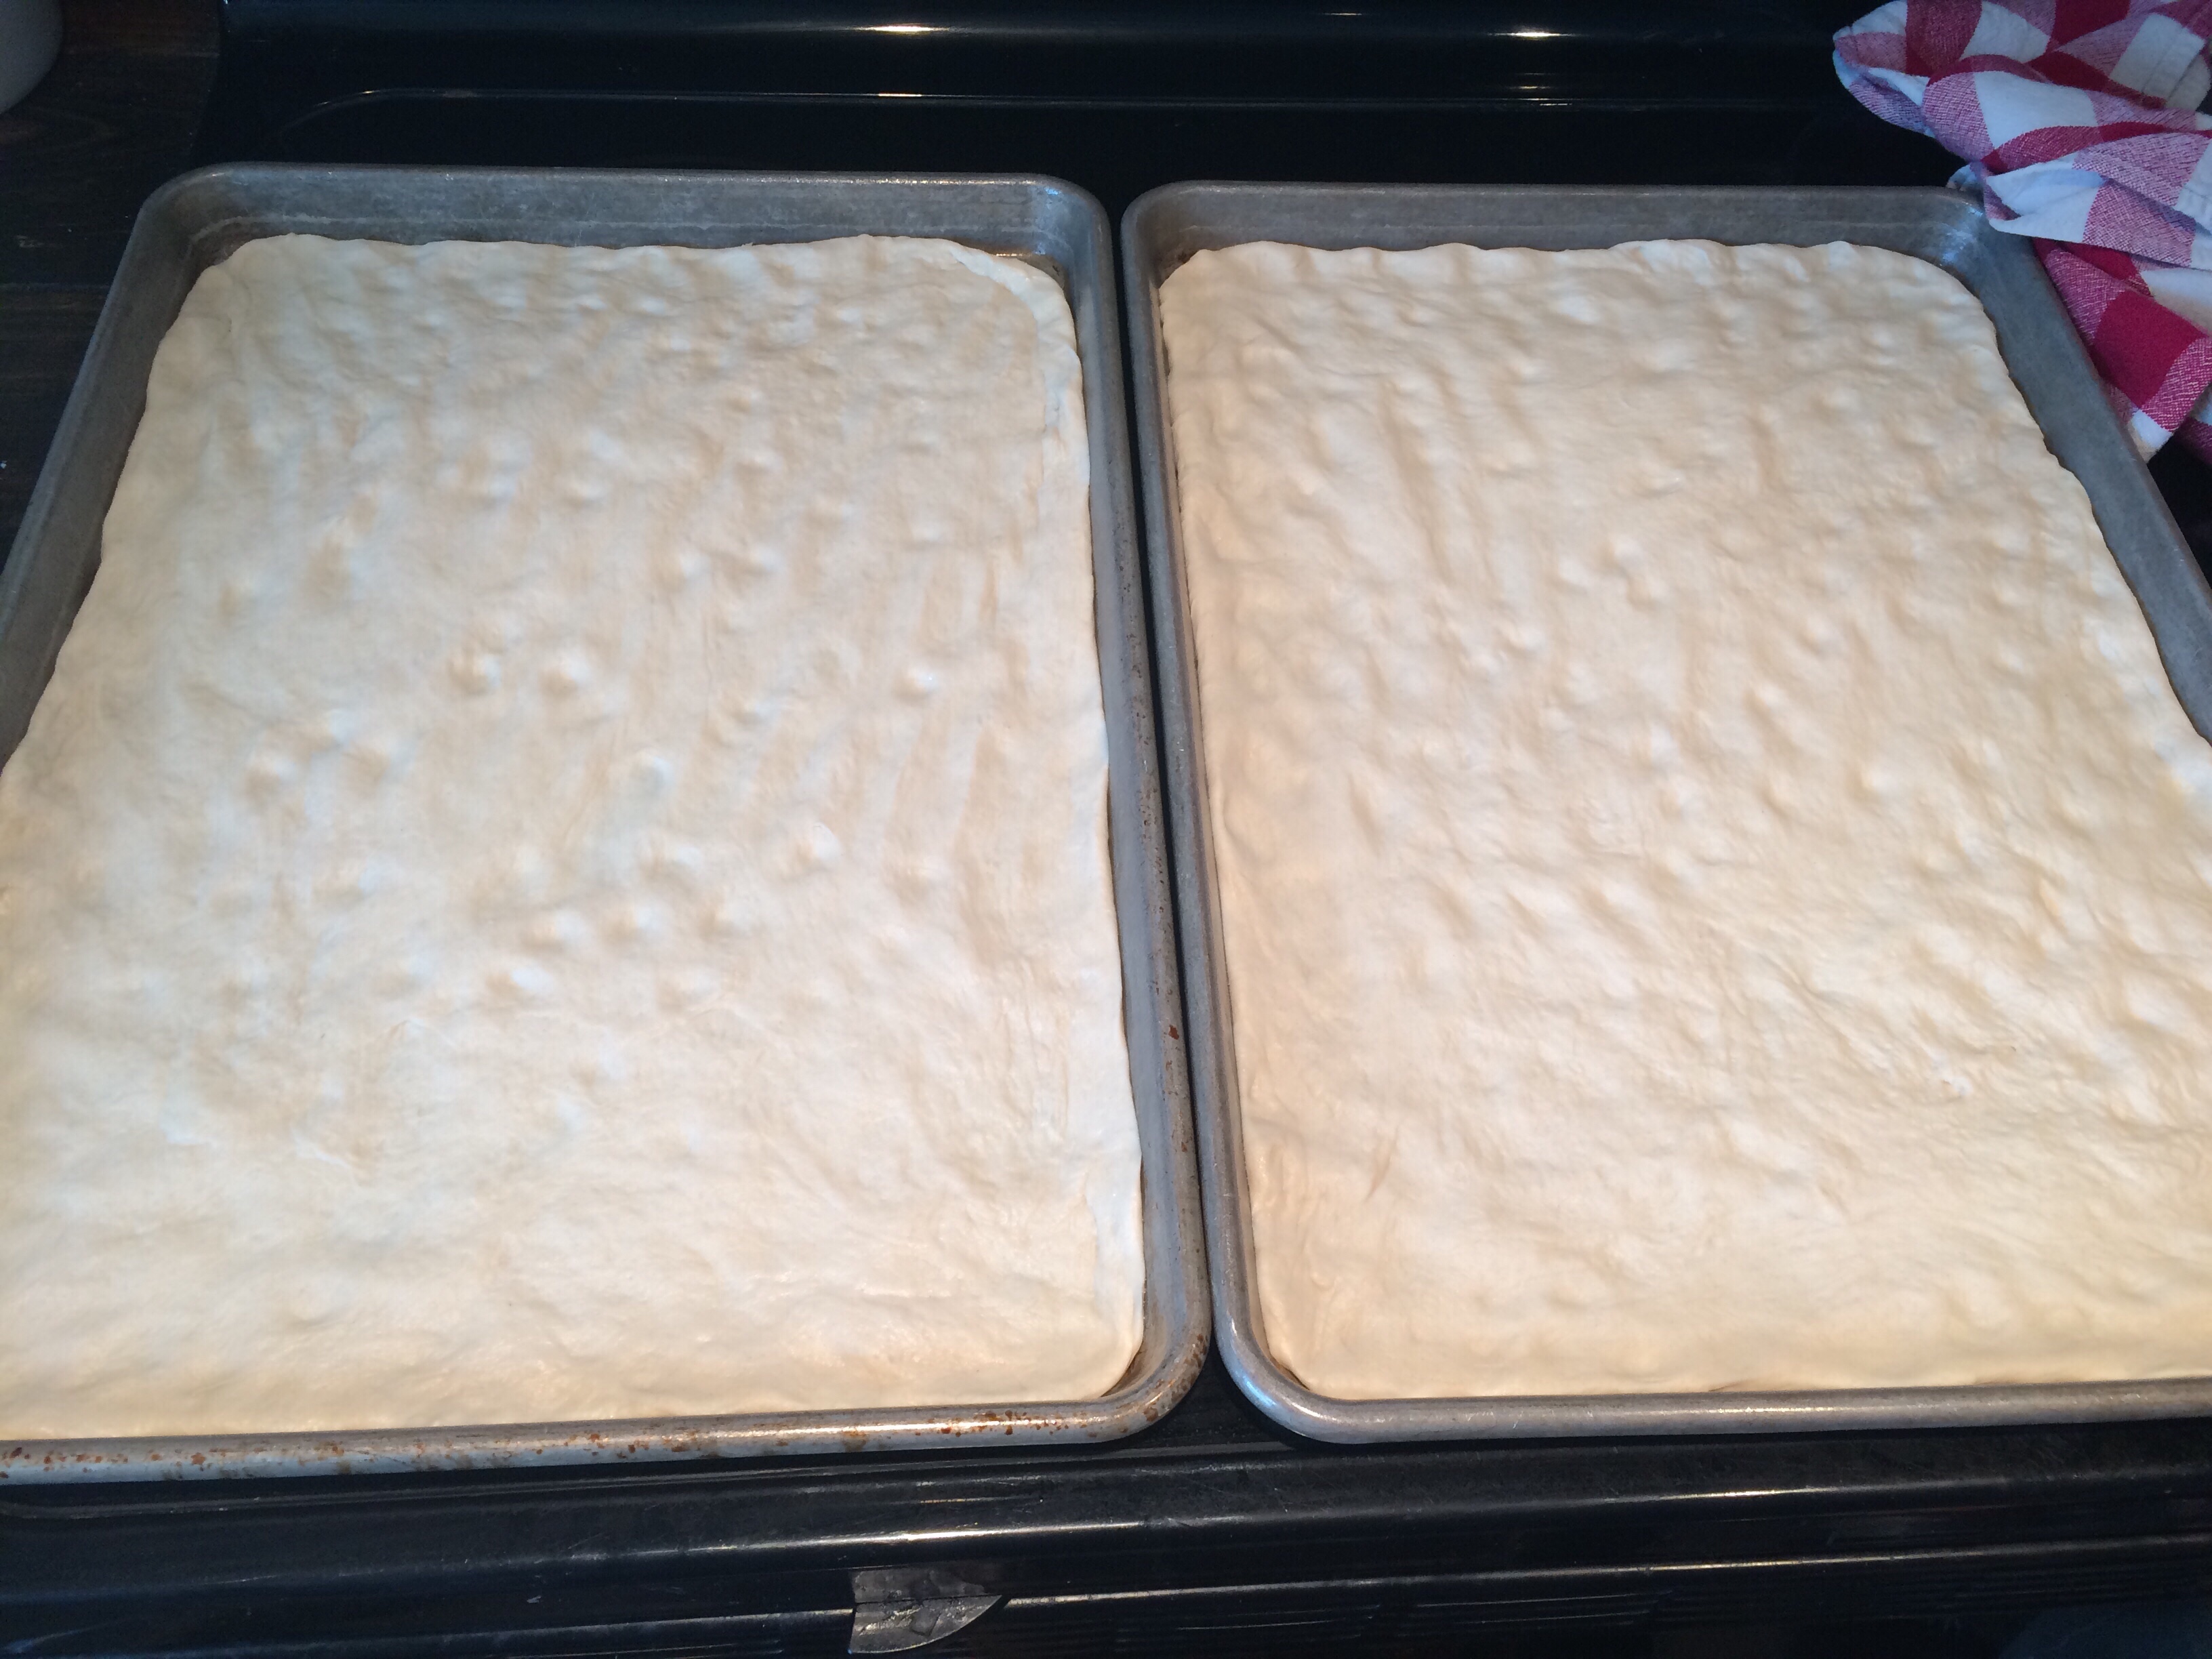
 STEP 5
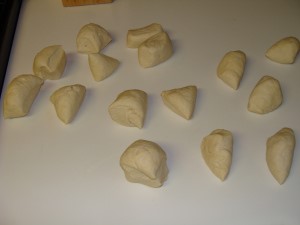
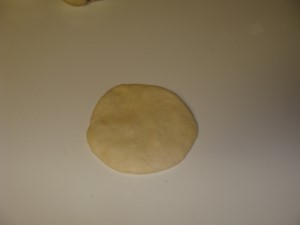
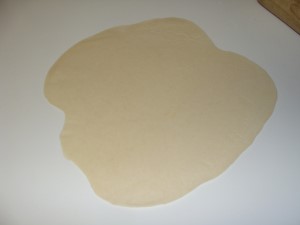
Punch dough down and place onto a coated cookie sheet. Stretch/spread dough out until it reaches each edge and corner.
STEP 5
Punch dough down and place onto a coated cookie sheet. Stretch/spread dough out until it reaches each edge and corner.
 STEP 6
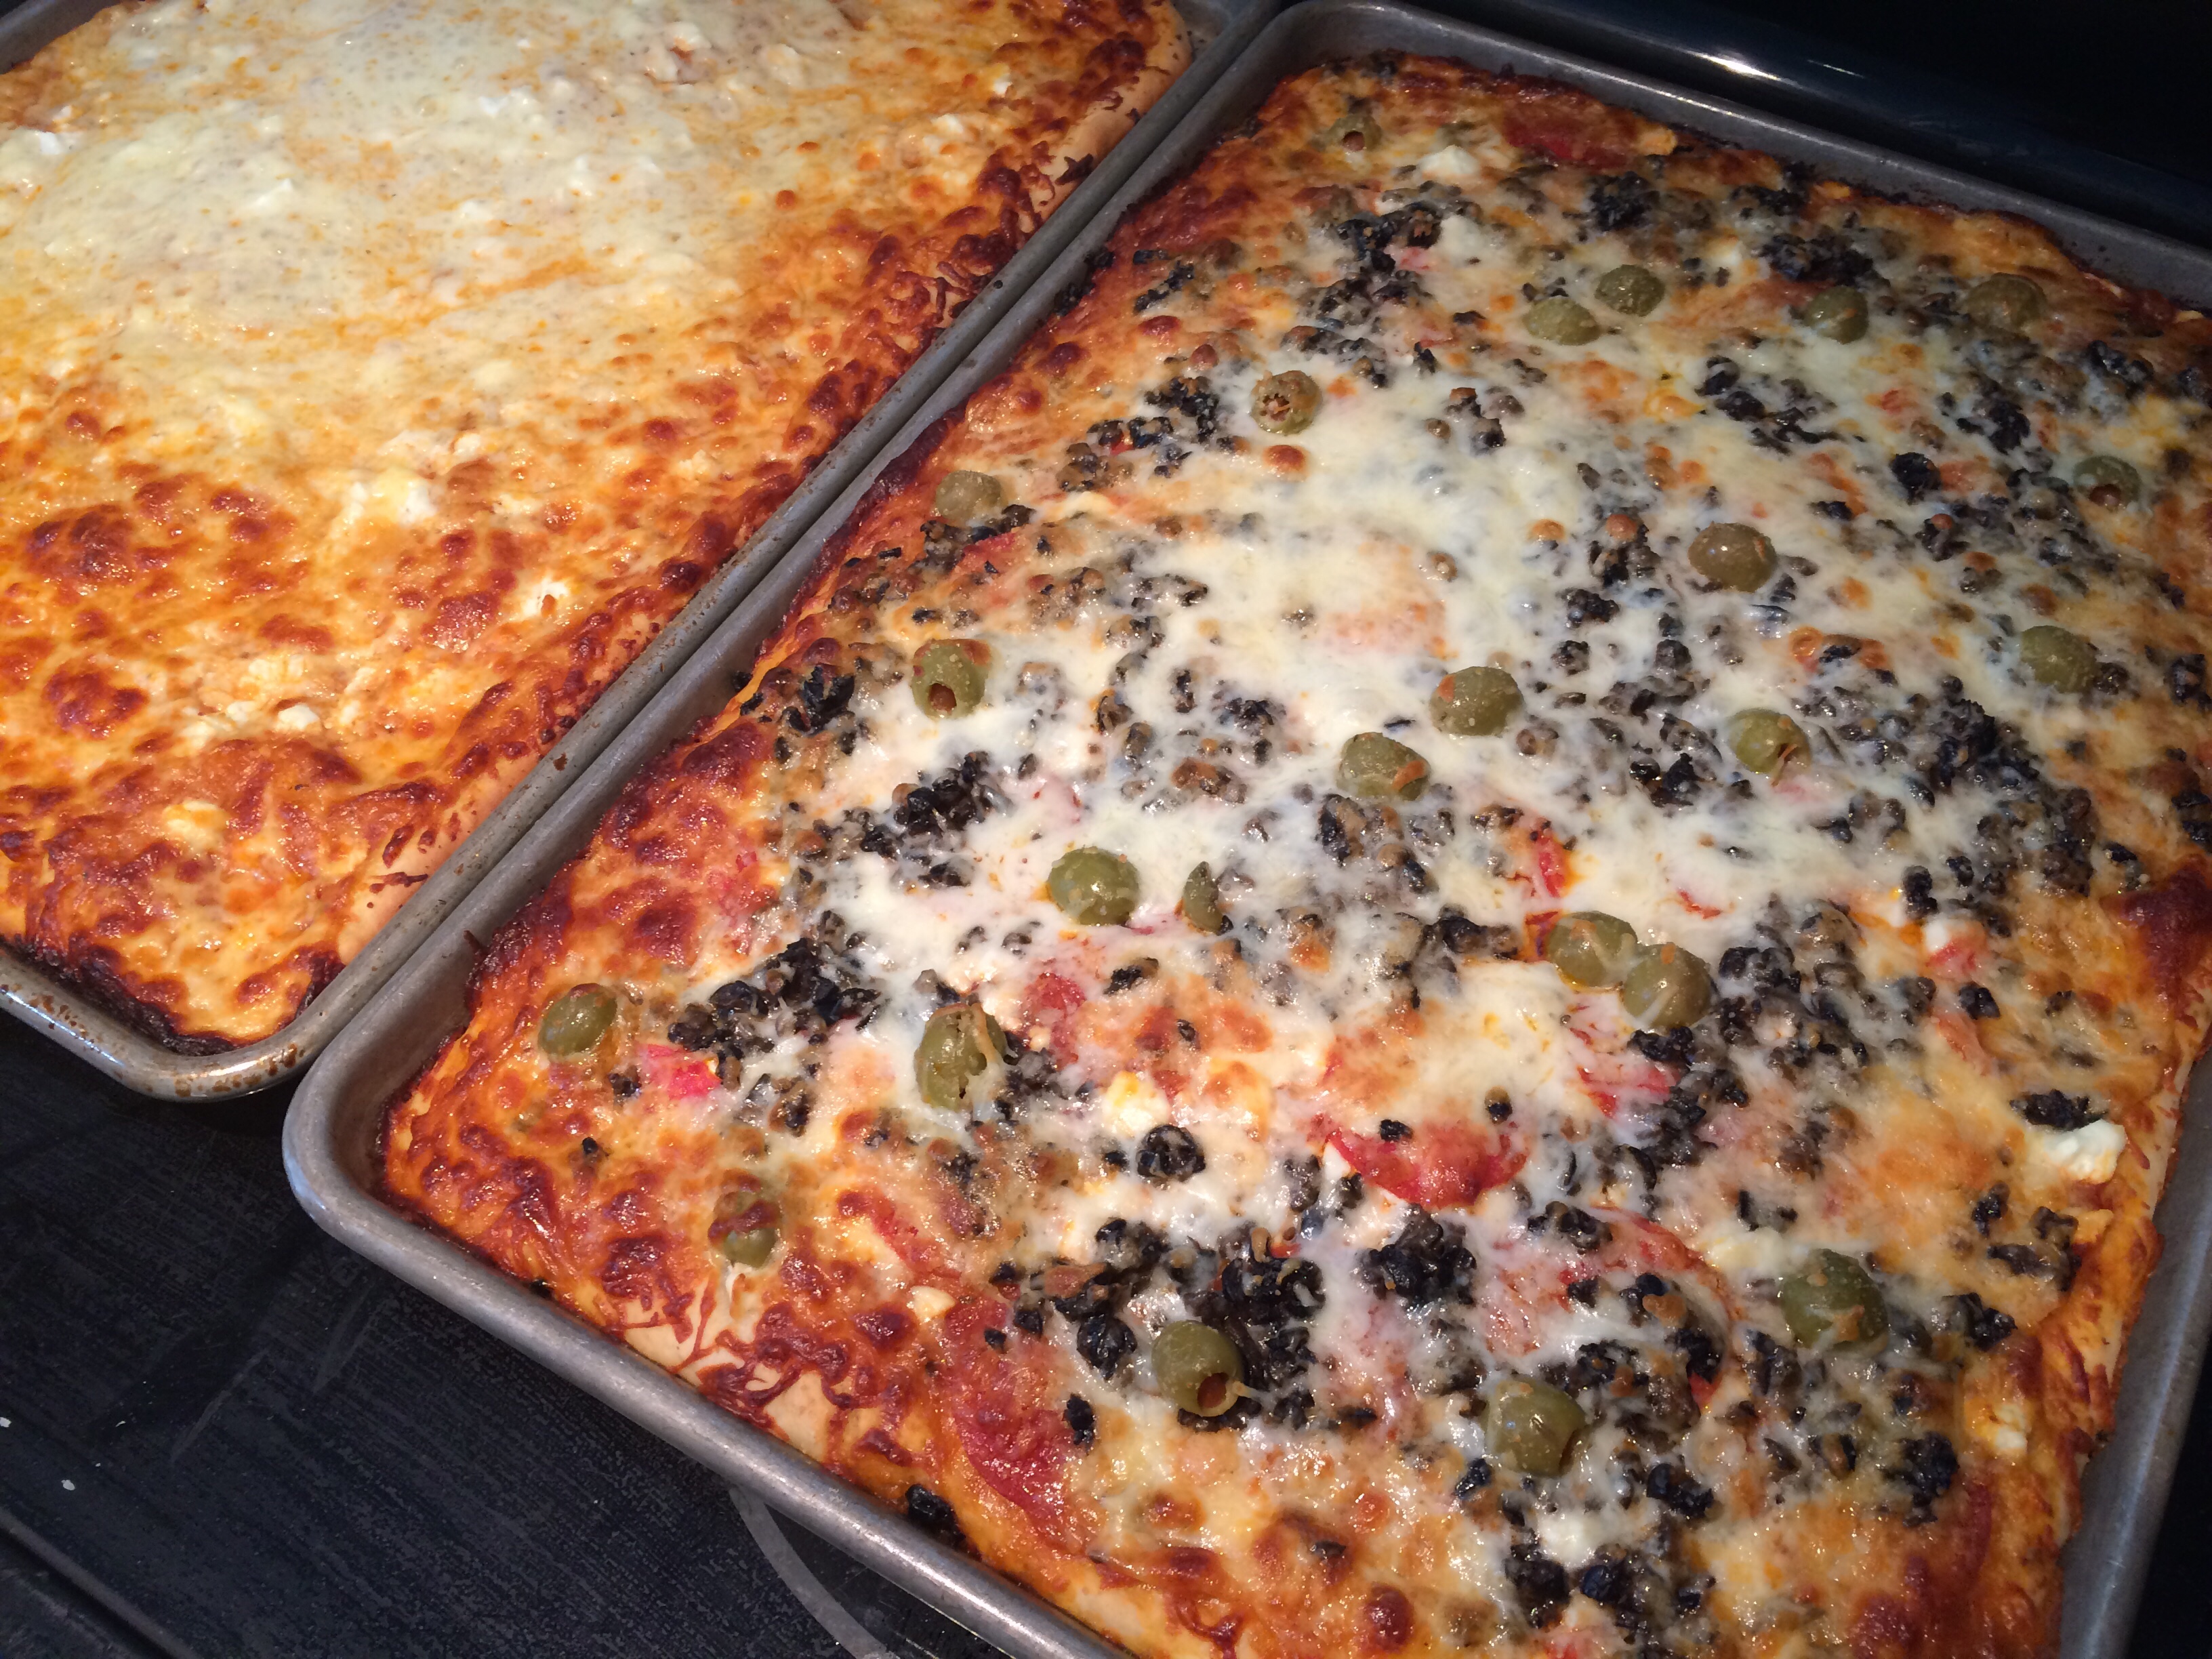
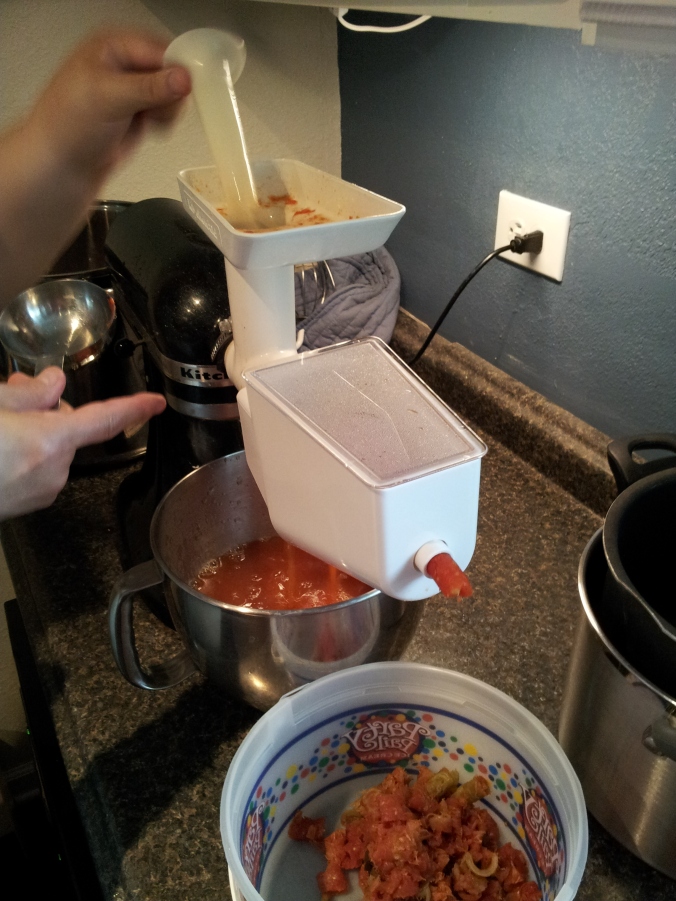
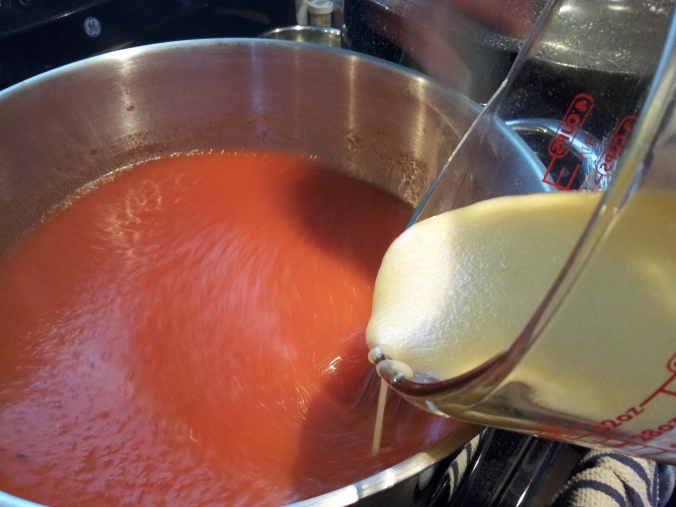
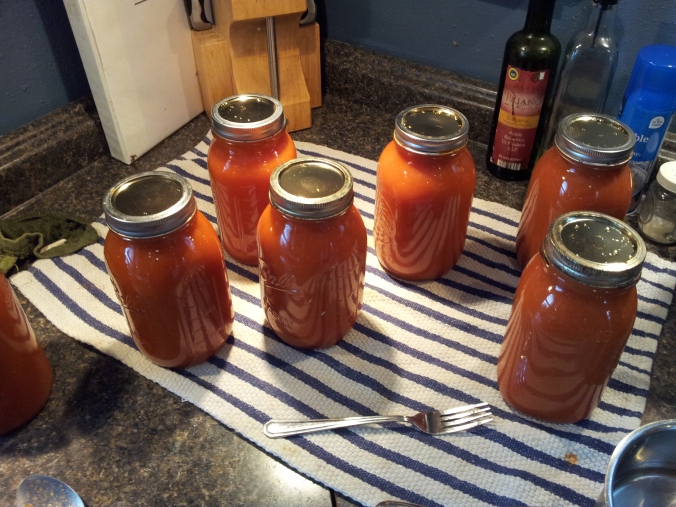
Top with your choice of sauce and other toppings. (I like to use my homemade spaghetti sauce even though it's not as thick as a pizza sauce. One quart jar is enough to make 4 pizzas.)
STEP 6
Top with your choice of sauce and other toppings. (I like to use my homemade spaghetti sauce even though it's not as thick as a pizza sauce. One quart jar is enough to make 4 pizzas.)
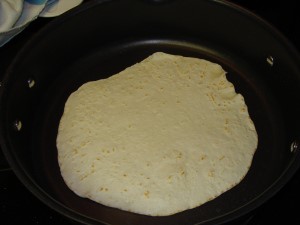
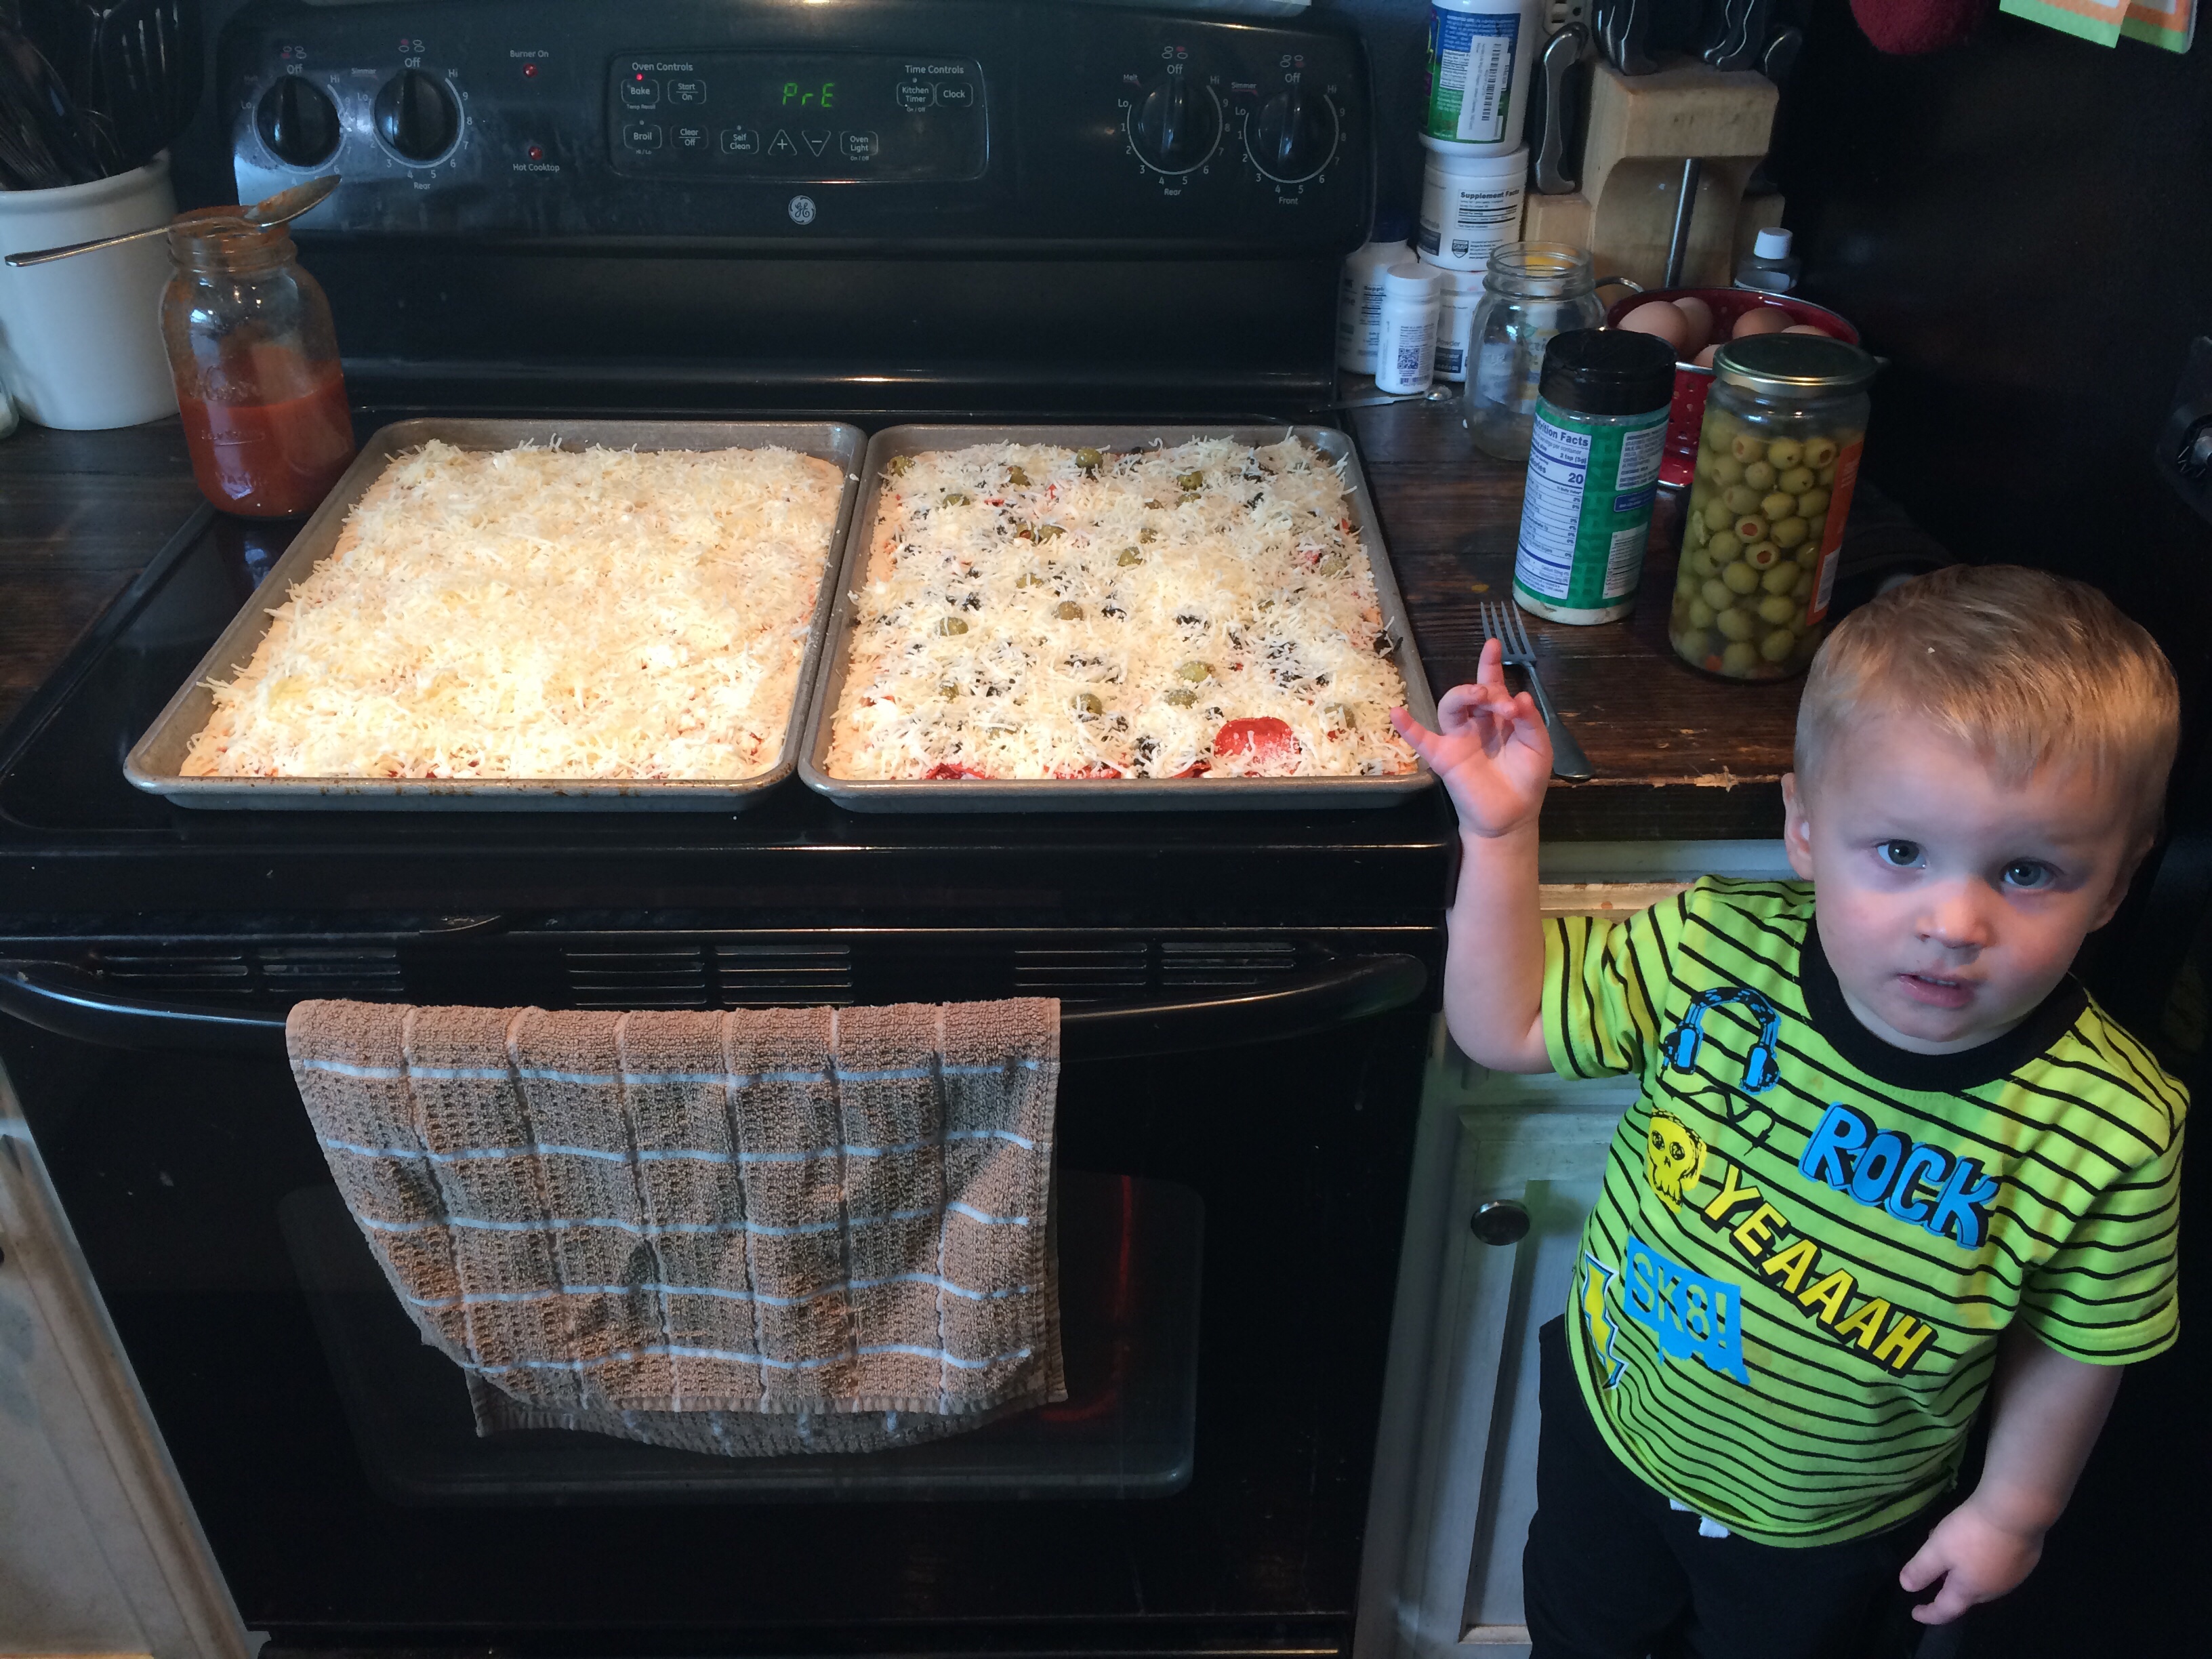 STEP 7
Preheat oven to 400F. (If you preheat after adding all the toppings it allows the dough to rise a little more before baking.)
Bake pizza for 20 minutes or until the top is nice and golden. Remove from oven and allow to cool on counter before serving.
STEP 7
Preheat oven to 400F. (If you preheat after adding all the toppings it allows the dough to rise a little more before baking.)
Bake pizza for 20 minutes or until the top is nice and golden. Remove from oven and allow to cool on counter before serving.